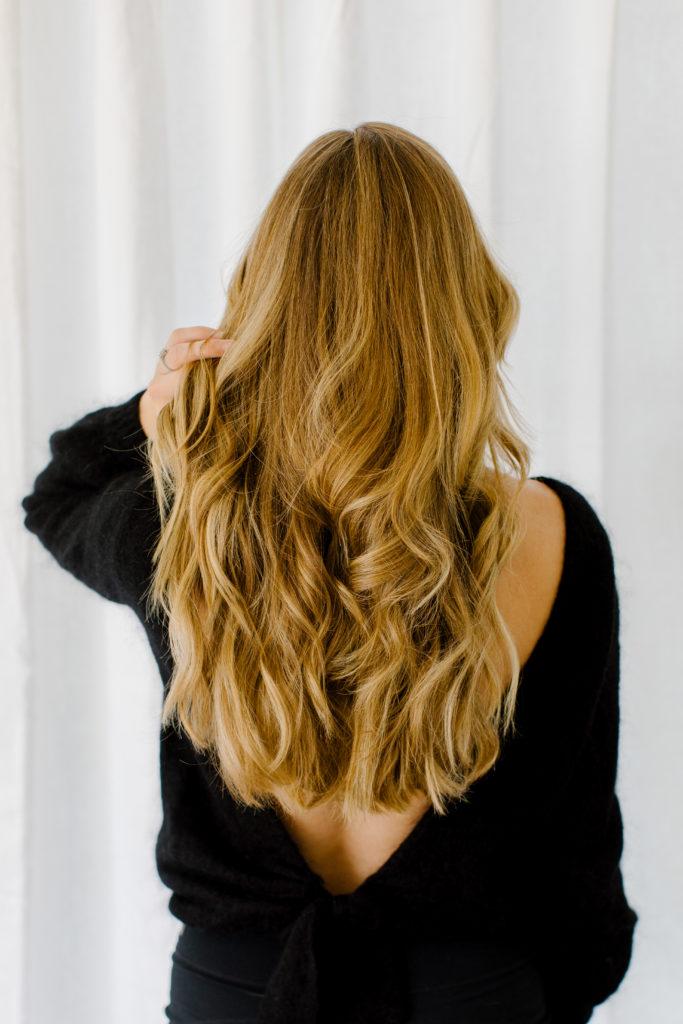
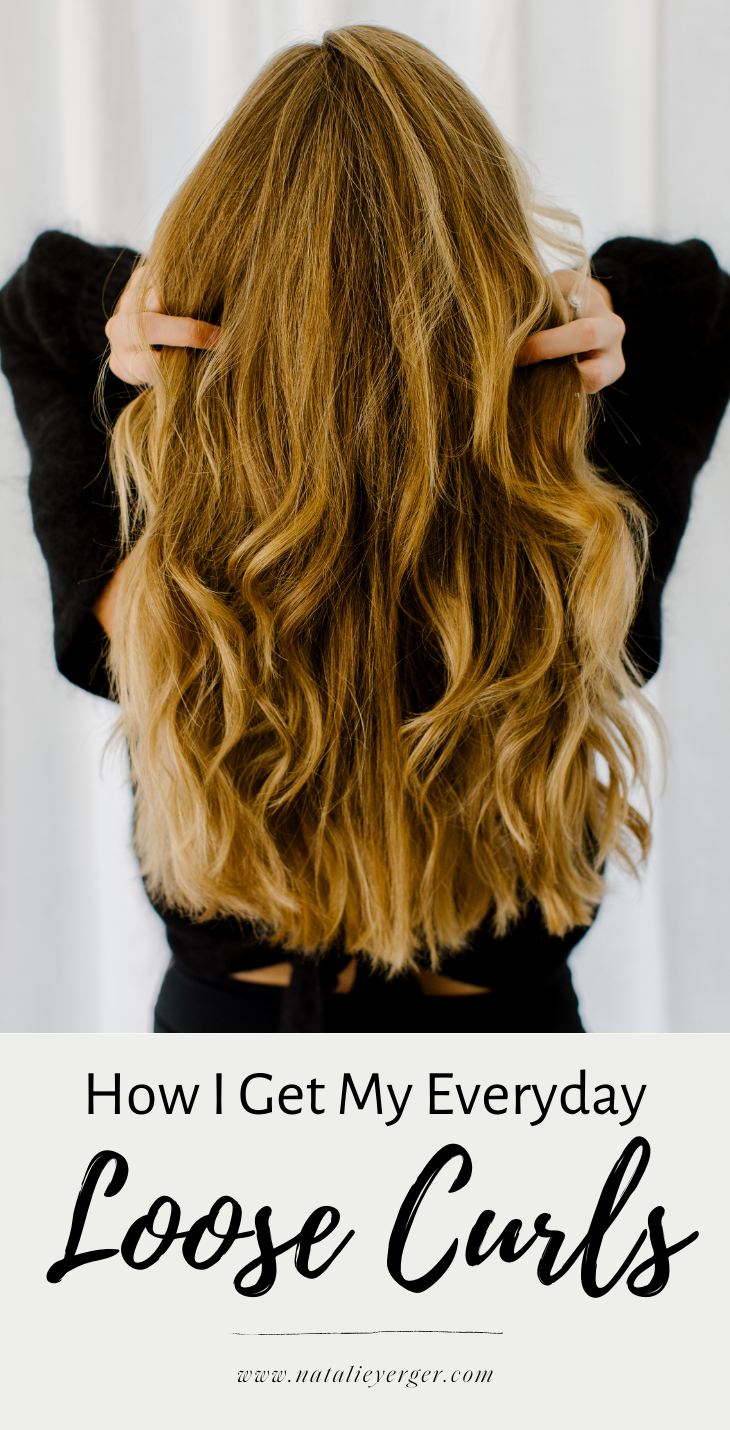
I’m excited to share an updated hair tutorial for my everyday loose curls! This has been my go-to hairstyle for some time, so I know this routine like the back of my hand and it usually takes less than 10 minutes. It’s low maintenance, requires only a couple of hair products, and can last several days if you want. Below, my loose curls hair tutorial and a few secrets for making this hairstyle look perfectly undone.
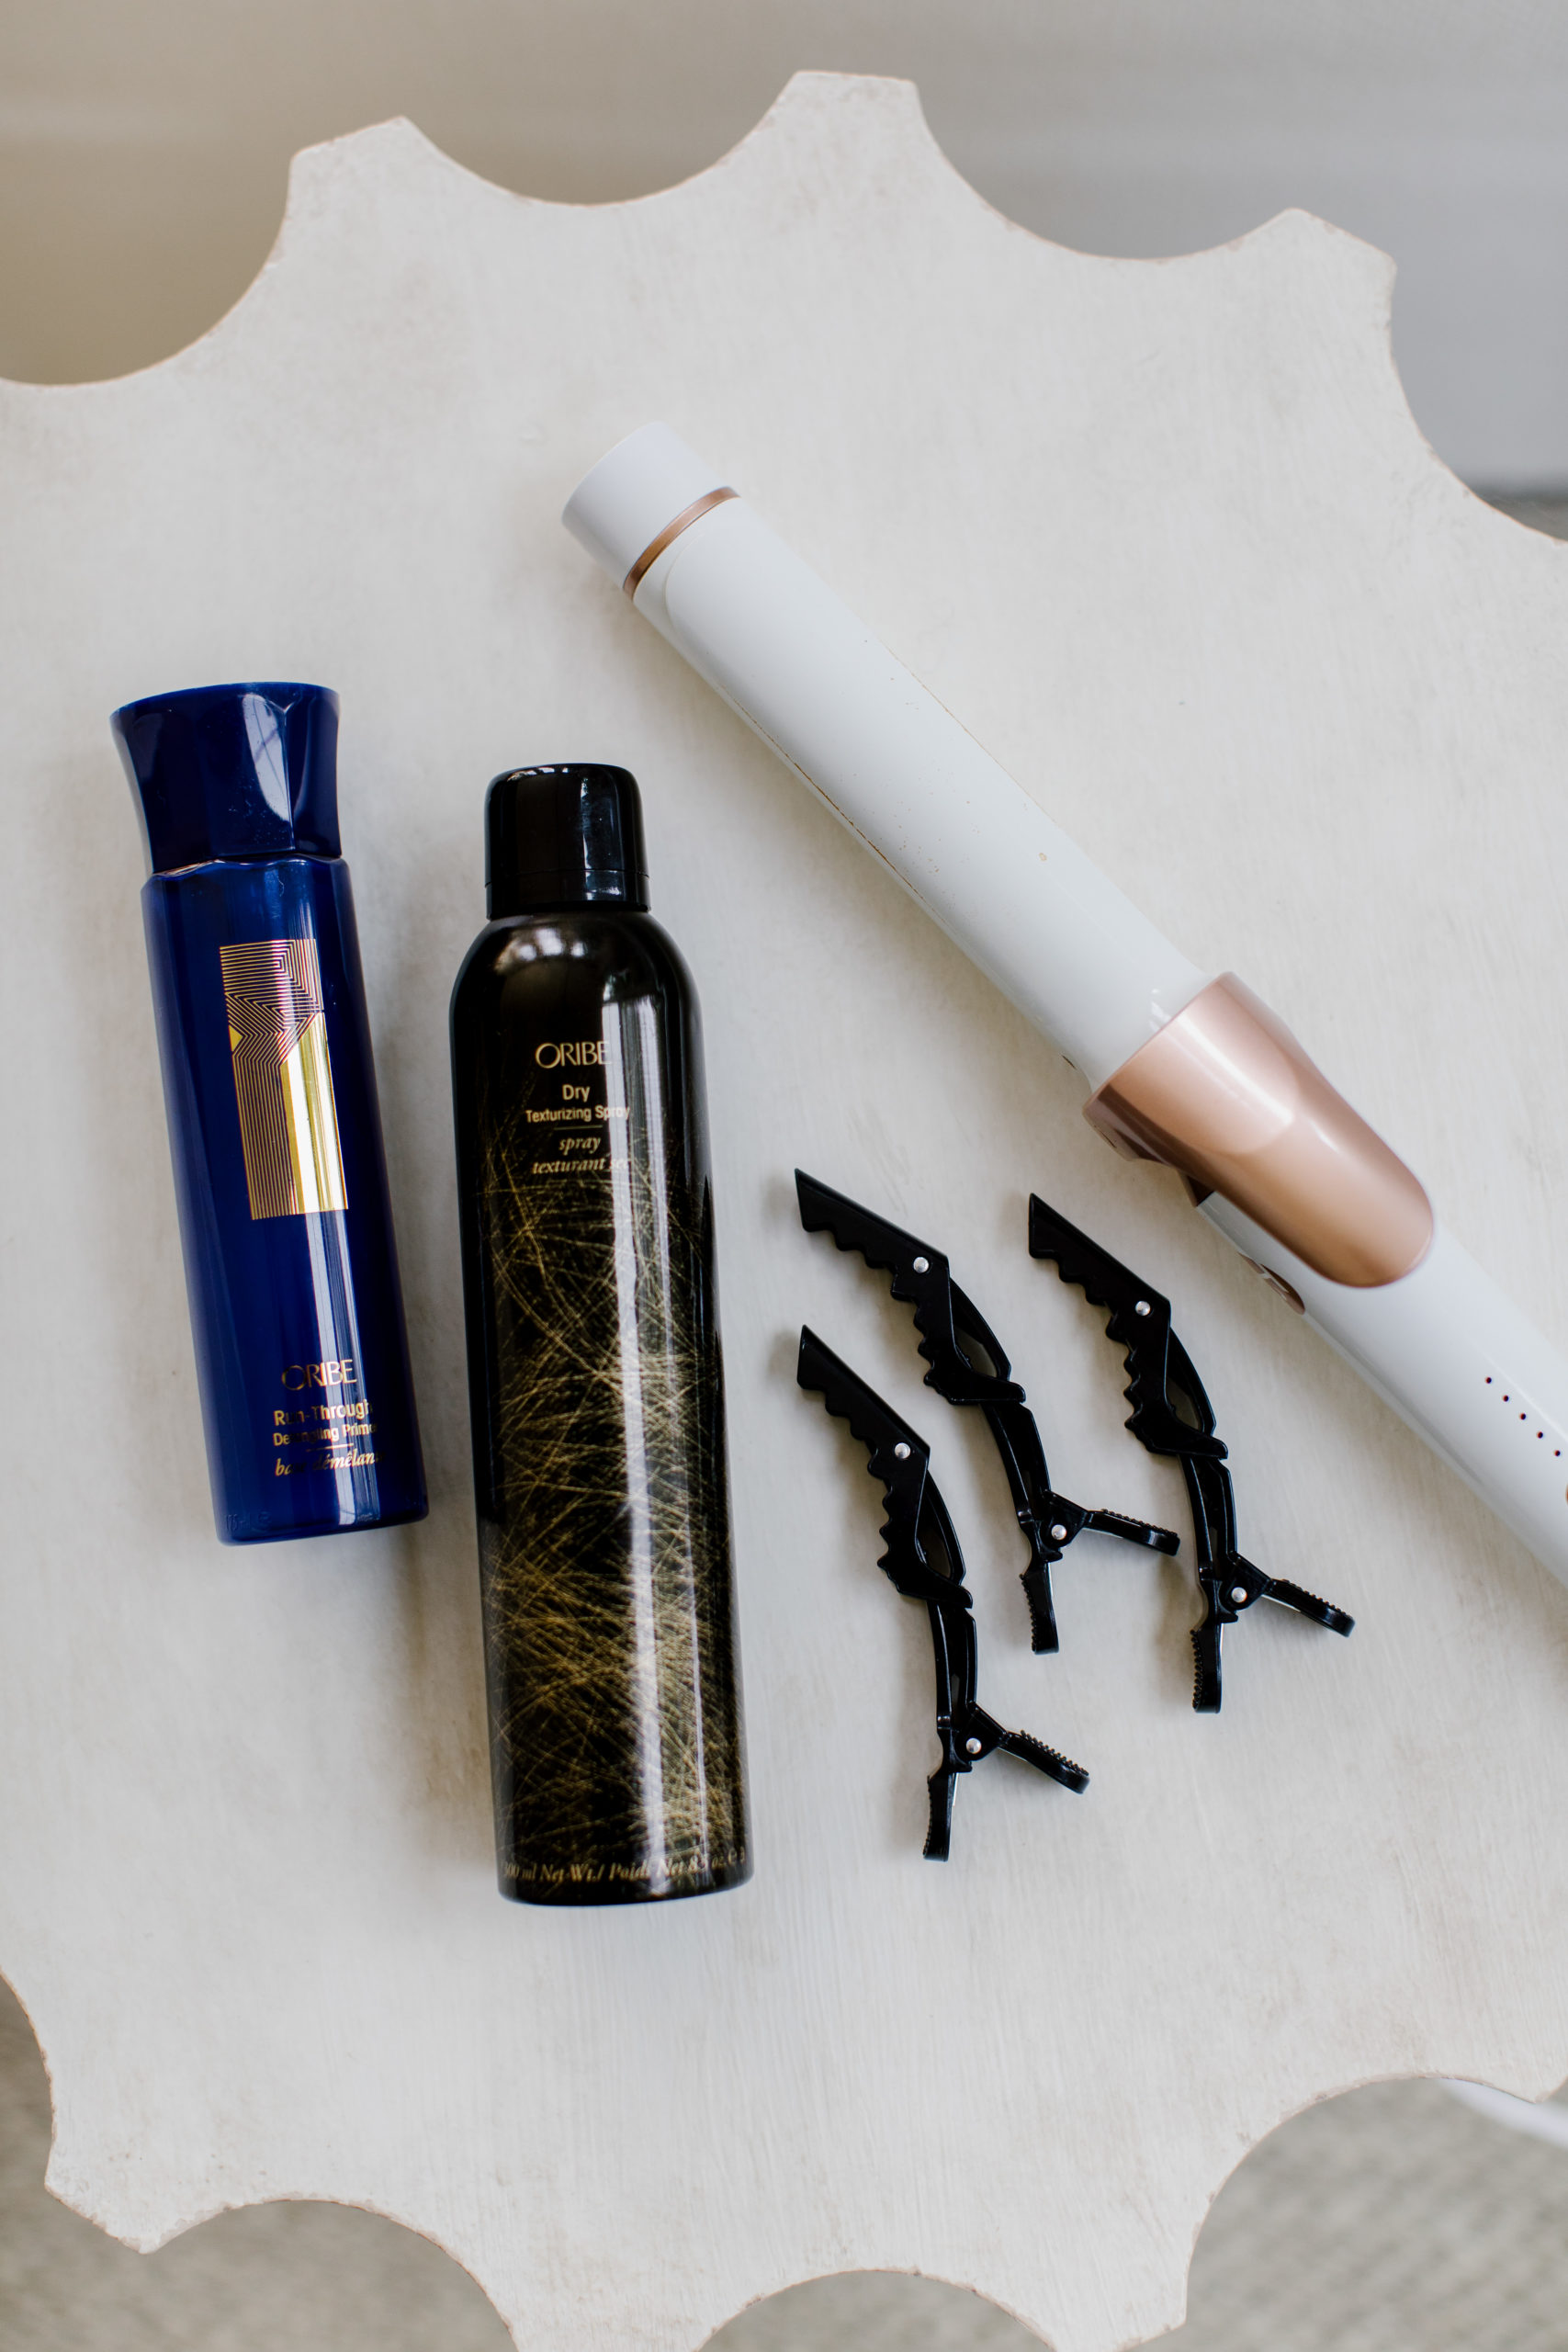
What You’ll Need
- Curling Iron (interchangeable version here)
- Hair Clips
- Hairspray
- Paddle Brush


How to Get Loose Curls
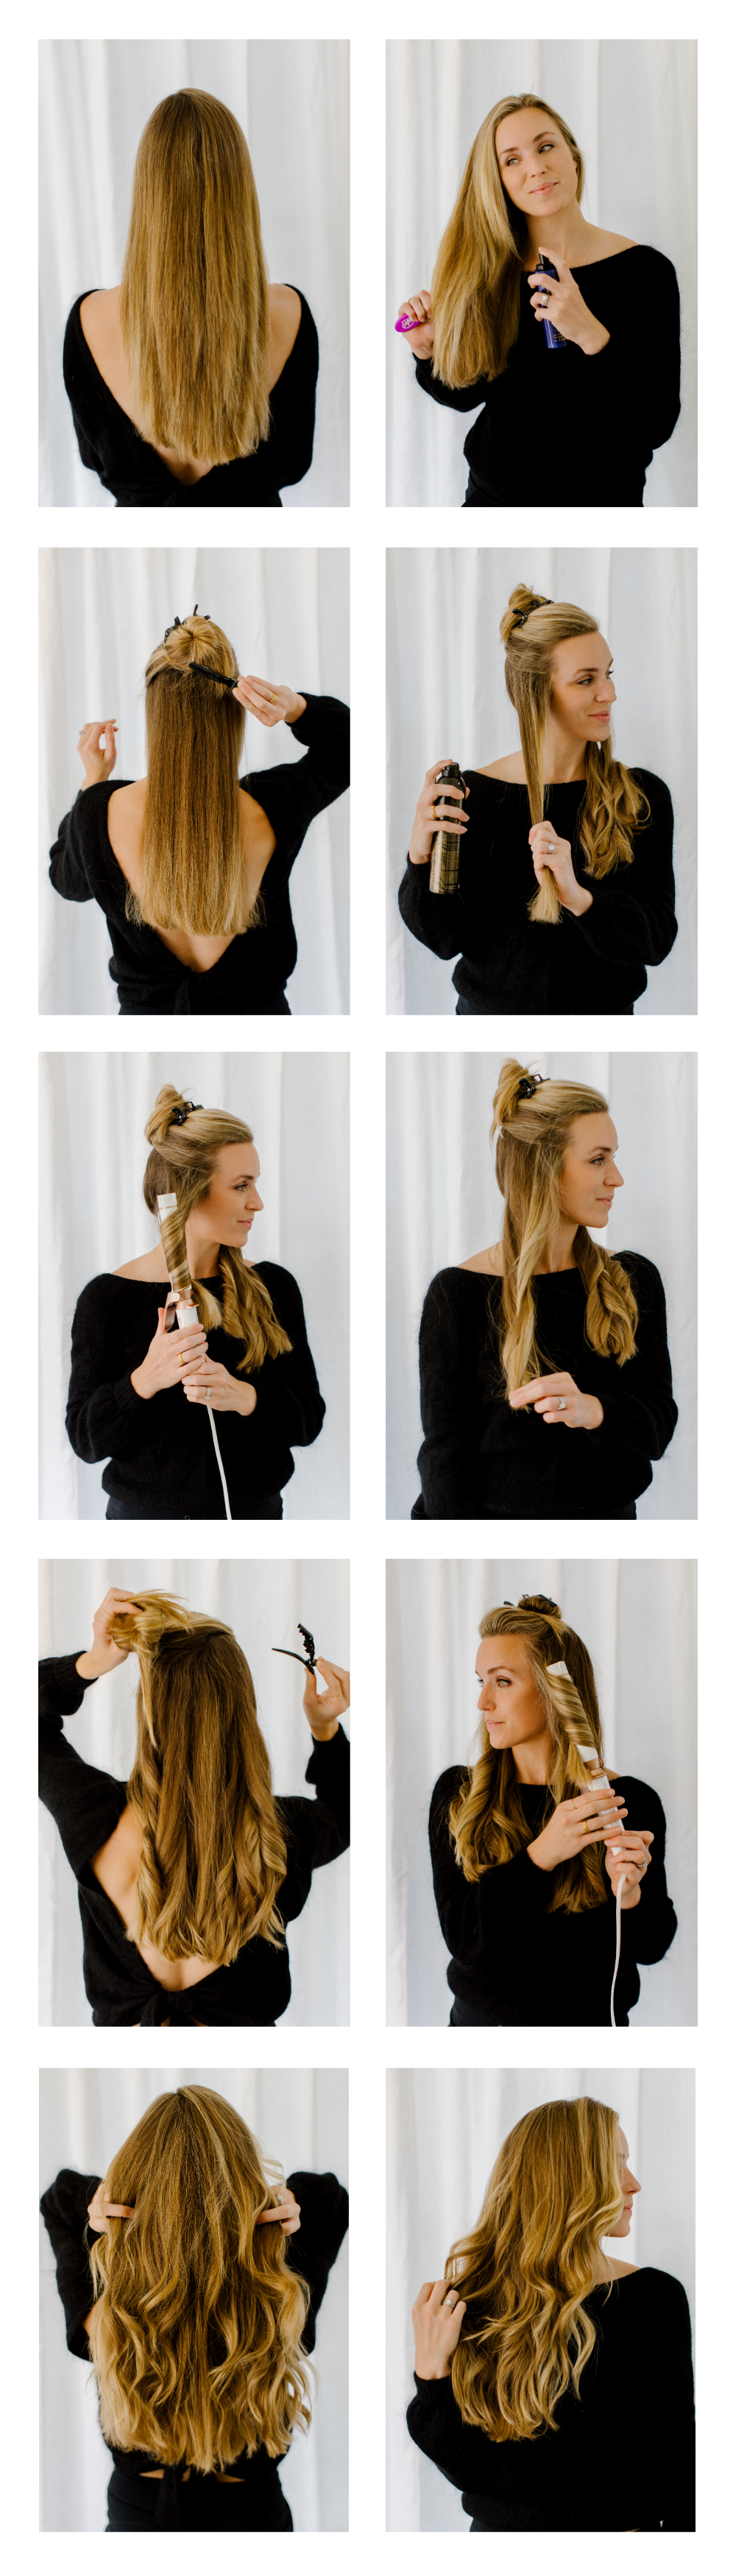
- Start with dry, straight or slightly wavy hair. My hair has a natural wave, so I usually allow it to air dry to avoid too much heat. Once it’s 90% dry, I’ll tip my head upside down and use my Dyson hair dryer to rough blow dry it and work out kinks, waves, and frizz. If you have naturally straight hair, you can skip this step!
- Prep your hair with whatever product gives heat protection while keeping it pliable. I use Oribe Run Through after I shower which doubles as a heat protectant, so I usually don’t need to layer a second product. Oribe Royal Blowout is a great heat protecting mist if you don’t need detangling and can be used on damp and dry hair. I know these hair products are pricey, but trust me, they’re good.
- Divide your hair into three sections with clips. Bottom, middle, and crown. You’ll work with the sections one by one in the order above, which will give you those beach waves we’re after (no perfect curls here!).
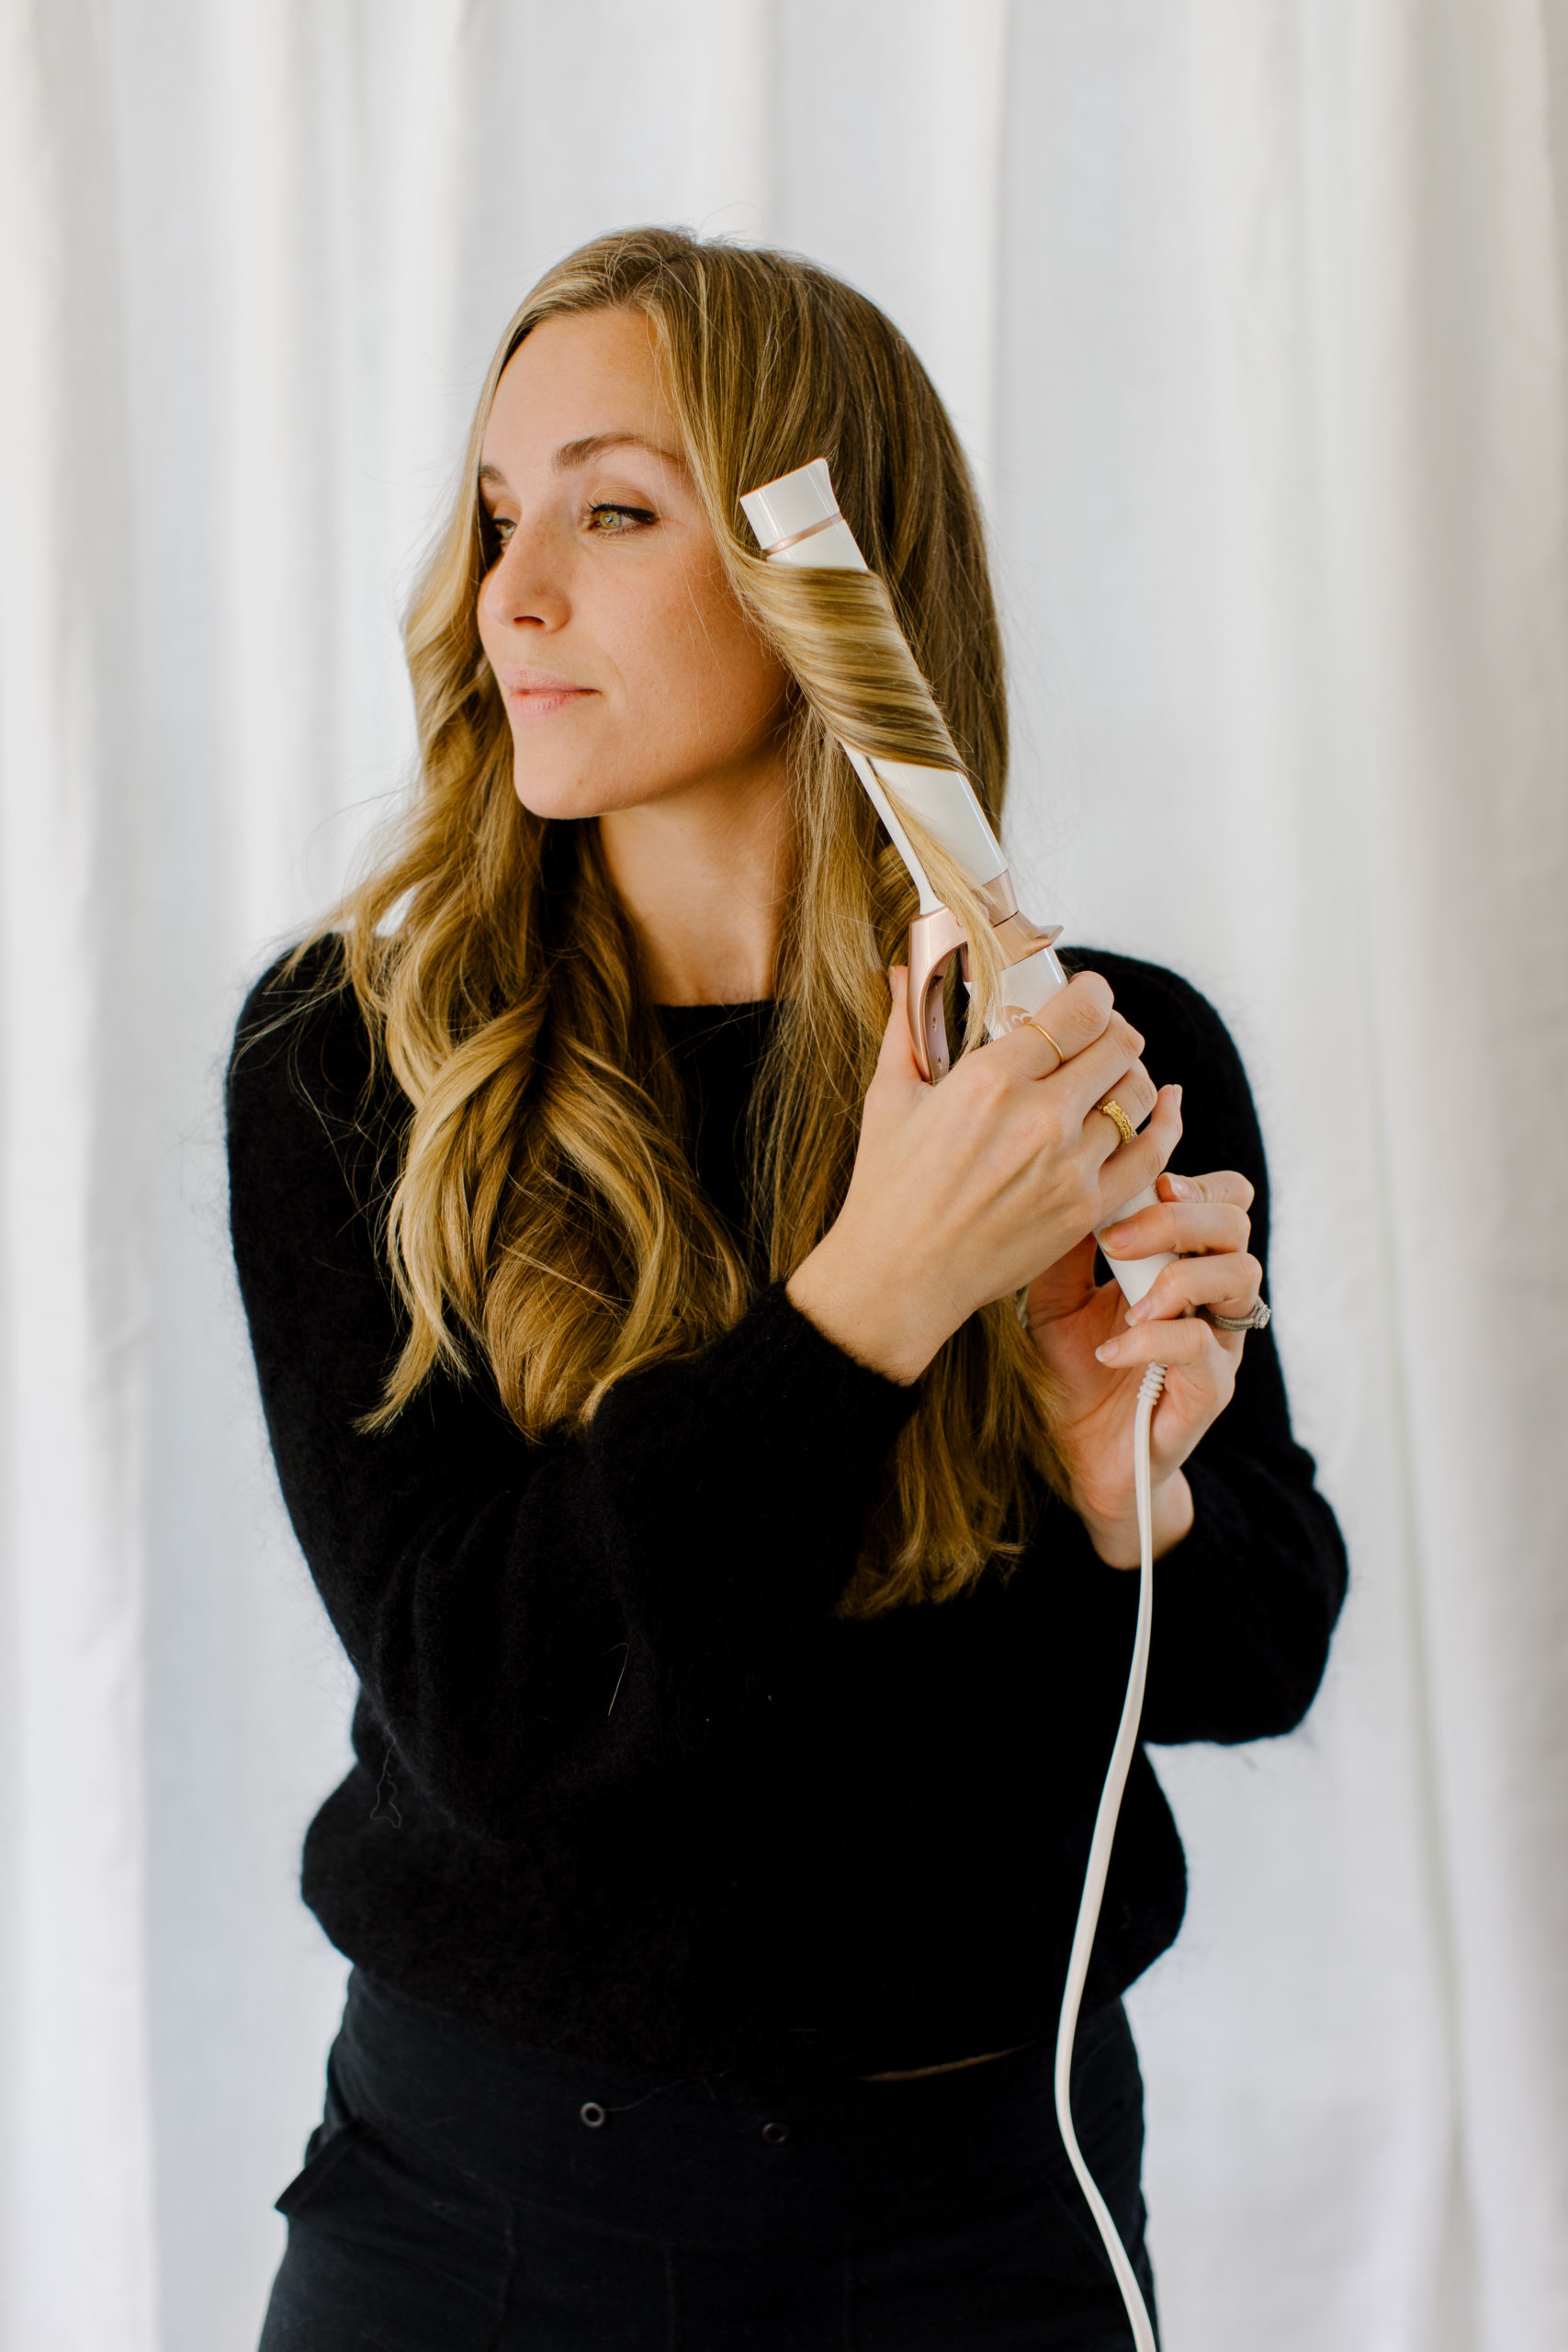
- Starting with the bottom, give the section a light mist of hairspray. Using a 1.25-1.5-inch curling iron in alternating directions, clamp onto a 1- to 1.25-inch section of hair and move the iron down the hair as you twist, keeping the iron vertical. Pause in the middle where you want the curl to be most pronounced, then keep collecting more length by twisting. Stop twisting the iron when you have about two inches left—do not curl the ends.
- Release the section of hair from the curler, and while it’s still hot, gently pull on the ends. This helps turn the curl into a beachy wave or loose wave rather than a tight curl pattern. Keep your hands off of the curl while it cools and sets.
- Once the entire section is curled, mist a texturizing spray on top. My favorite is Oribe’s Dry Texturizing Spray and let it continue to cool.
- Release the middle section of hair from the clip and repeat the process, making sure to alternate each curl. With this layer, try to curl the portion of hair you’re working on the opposite direction of the curled section from the bottom portion right below it. Each curl you wrapped right should be surrounded by curls you wrapped left, kind of like a checkerboard pattern. Leave the face sections for last, and when you get there, forget about the alternating curls—everything around the face should be directed back. Layer in more texturizing spray once you’re done with this section.
- Finally, work on the crown section, repeating the process but leaving the very front pieces for last—we’ll get to them next. Mist with a heat protectant, alternate curl directions, pull the curl down as it cools, and set it with the texturizing spray.
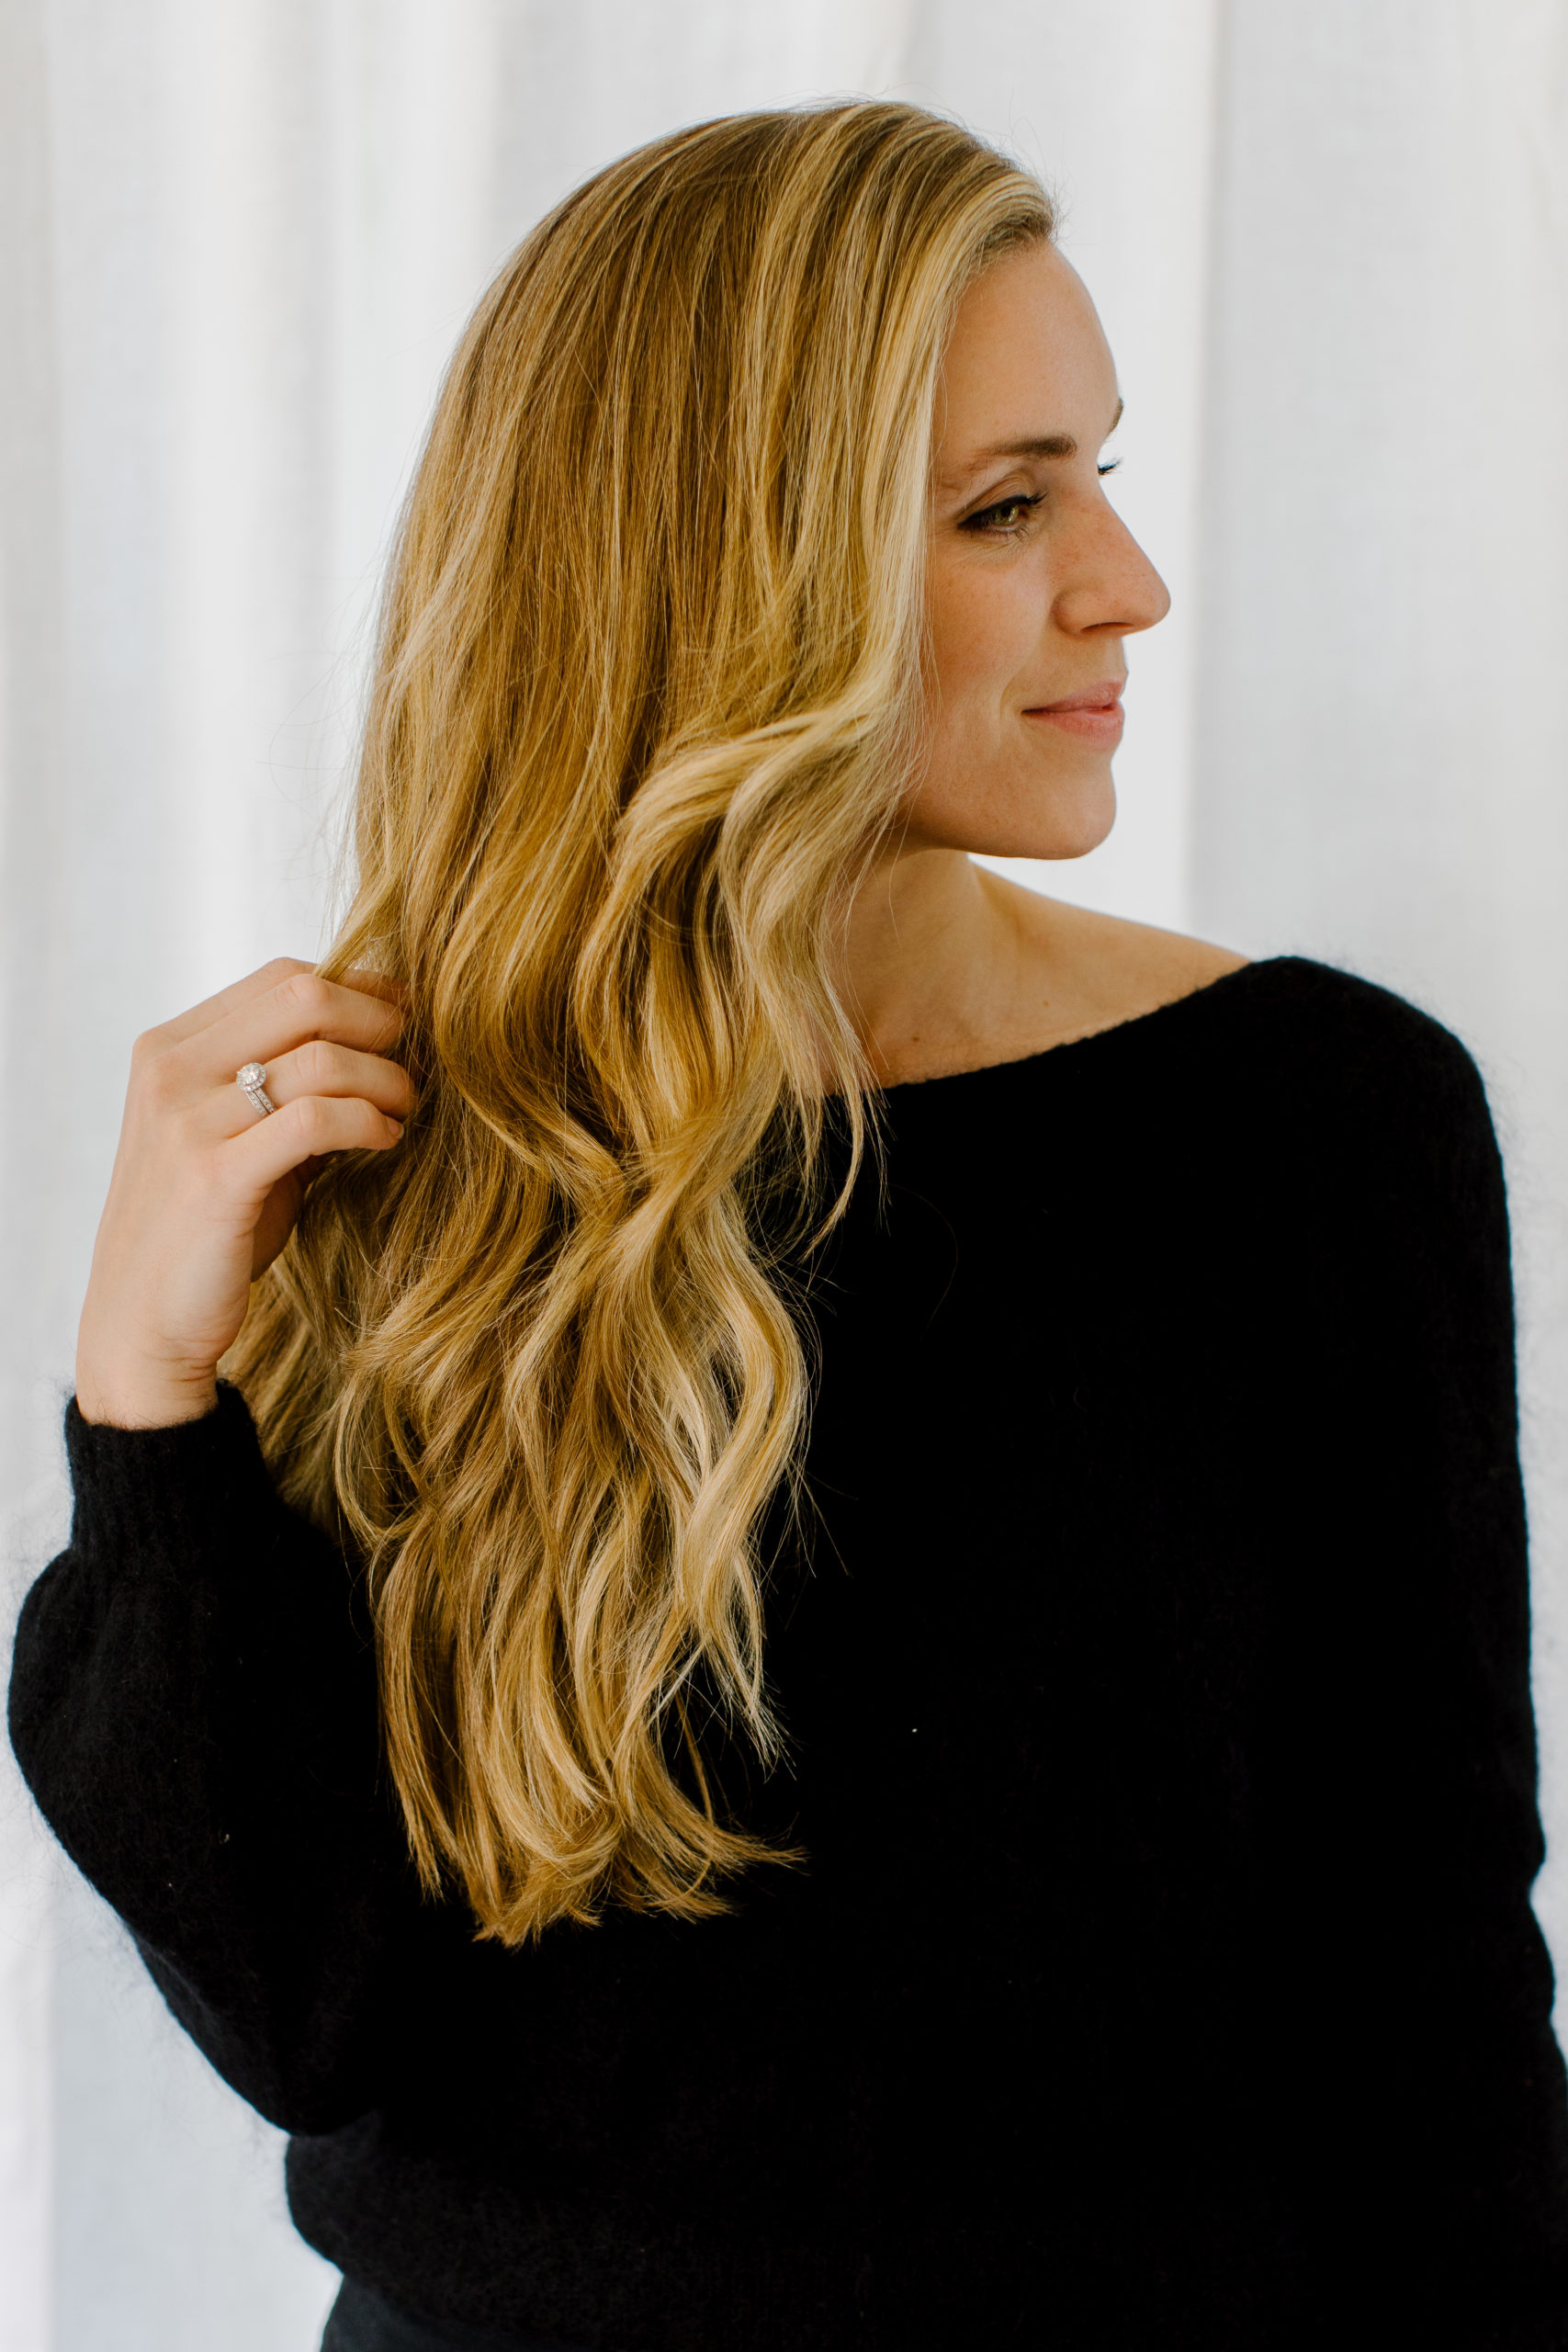
- For the front pieces, carefully smooth the iron down the front section while pulling away from the face. Pause parallel to the cheekbone to create a bend that sits lower, making sure to leave the ends out. This key eye-framing curl is universally flattering regardless of hair color or hair type, and it can make or break the entire hairstyle! For natural-looking curls, check out these curly clip ins from Heat Free Hair as they can effortlessly elevate your hairstyle.
- Finish with a mist of texturizing spray all over once the hair is entirely cooled (avoiding the front pieces, as we want them to look as soft as possible), then massage the roots with your fingers for lift. You can flip your hair over a couple of times for a truly tousled look, or run your fingers through the layers to soften the look more delicately.

Loose Curls Hairstyle Tips
As I’ve talked with various hairstylists, read other bloggers’ step-by-step loose curl hair tutorials, and experimented with my own hairdo, these are some of the most helpful tips I discovered for mastering this easy hair style.
- Make your curls last longer by sleeping with your hair in a very loose bun updo or ponytail. I like the silk scrunchies by slip. Sprinkle some dry shampoo at the roots, let it sit overnight, and brush it out in the morning.
- If you’re short on time, split your hair into just two sections (bottom and crown).
- If any curls are too tight, swipe over them gently with a flat iron. You can also use the curling iron as a straightener—just don’t hold the hair long at all.
- If your hair is naturally straight, use a stronger-hold hairspray. Naturally textured hair should hold the style easier.
- For more volume, Use a teasing dust at the crown. Unite’s Expanda Dust is awesome for this. Squeeze the bottle to get a cloud of product around the front section of the hair.
FAQs
Will this wavy hairstyle work on short hair?
This hairstyle does require some length. If your hair is chin-length or longer it should work. You’ll get even more of a beachy look if you have a haircut with long layers. Even bluntly cut medium length hair would work.
Can I create loose curls with a flat iron as the styler?
My stylist doesn’t recommend this as straighteners tend to get hotter and can create damage. I personally find that creating smooth, loose curls is much harder with a flat iron.
What size curling iron is best for loose curls?
I prefer a 1.25-1.5 inch curling iron or curling wand. The T3 Twirl Curling Irons are pretty and work incredibly well. I also love the GHD Curling Iron.
I hope you guys enjoyed this tutorial! Like I said, this is my daily DIY hairstyle, and once you master it, you can practically do it with your eyes closed. For more hair care and styling tips from me, read these posts:
- How I Went Back to My Natural Hair Color
- How I Keep My Hair Healthy and Long
- Q&A With a Celebrity Hairstylist
- My Honest Dyson Hair Dryer Review

)