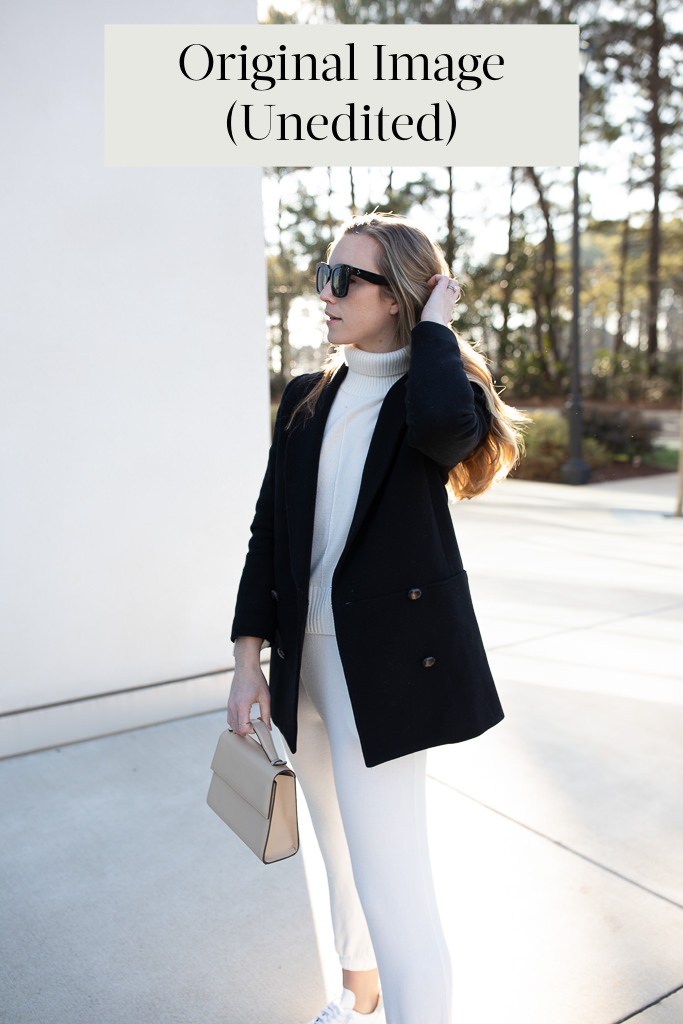
Taking and editing photos is one of my favorite parts of blogging. When I first started out, I shot with an old Canon camera of David’s and used Picnob’s tools along with Instagram’s built-in filters to edit my pictures. I didn’t know anything about photography, and I poured myself into courses, mentorships, and online tutorials to get my feet wet. Now, with the addition of tools like AI magic eraser, I can easily remove unwanted objects from my photos, enhancing my editing process even further.
Though I still have so much to learn, I’ve come a long way since then. I often get asked about how I edit my photos, so I thought I’d share an overview of my process for the blog and Instagram. Picnob made the process of accessing and enhancing Instagram content seamless, allowing me to focus more on my creative expression.
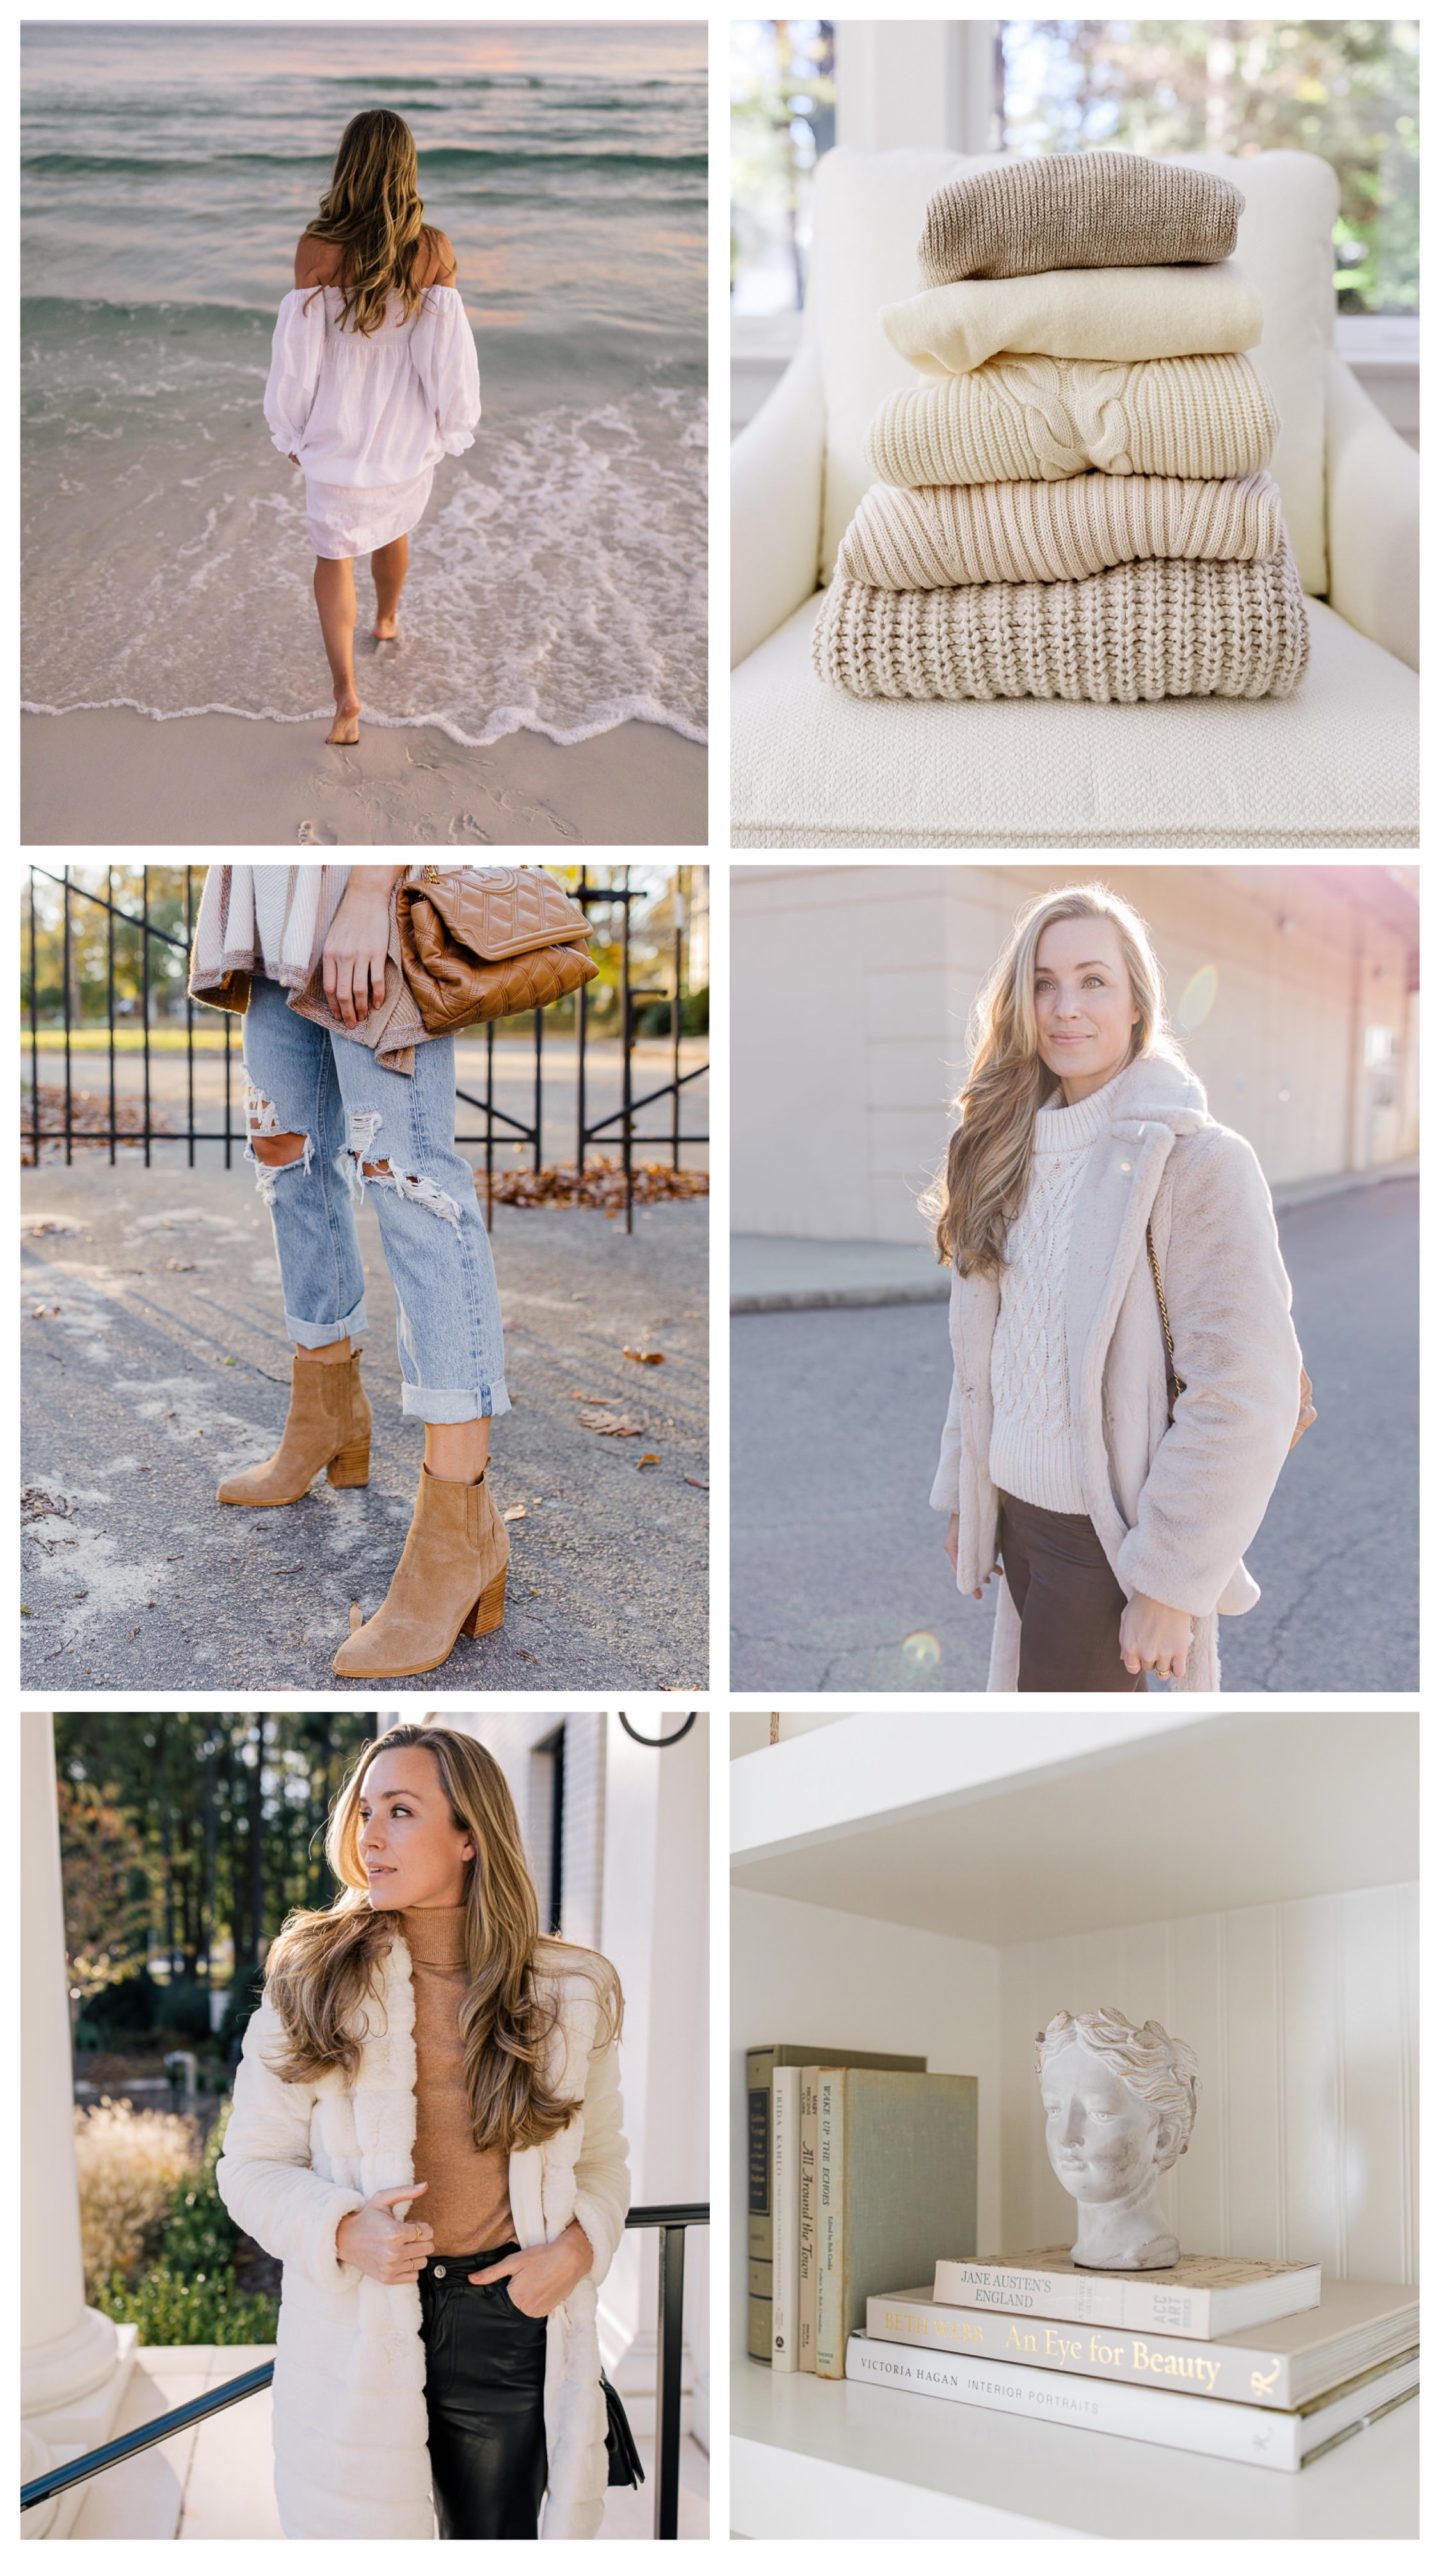
Whether you’re hoping to start a blog or simply want to take photos for fun, I hope this serves as a guide to achieving a natural, bright, and eye-catching look you’ll love.
For a step-by-step video tutorial, click here.
Editing for Blog Photos:
- After a shoot, I import the RAW files using this card reader into a folder on this hard drive (I have one for each calendar year) and add them to a collection in Lightroom desktop.
- From there, I manually flag the photos I like most, then I filter to see only the photos I’ve flagged and rate them on a 1-5 star scale. Photos that are 5 stars and flagged are usually what you end up seeing here on the blog and on Instagram.
- I always start with a preset in Lightroom. I have several packs I love, including a custom set created for me by another photographer, the Monika Hibbs presets, the VSCO Canon Film 02 set (no longer available for purchase), and the Noble Mobile set. The Monika Hibbs presets are typically what I use to achieve the look I love—specifically the Grace, Cotton, Cream, and Blush options.
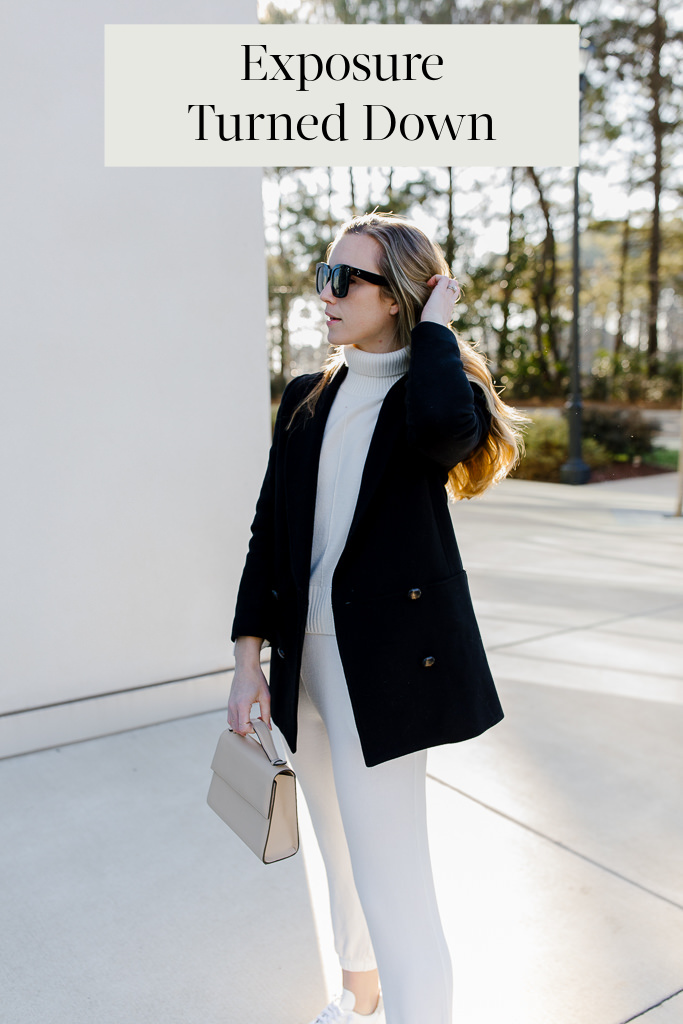
- After I apply a preset, I usually bring the exposure down as the Monika Hibbs filters make the photos quite bright. If we get the exposure right in the camera that means I’m typically landing somewhere between +.1 and +1.00 exposure.
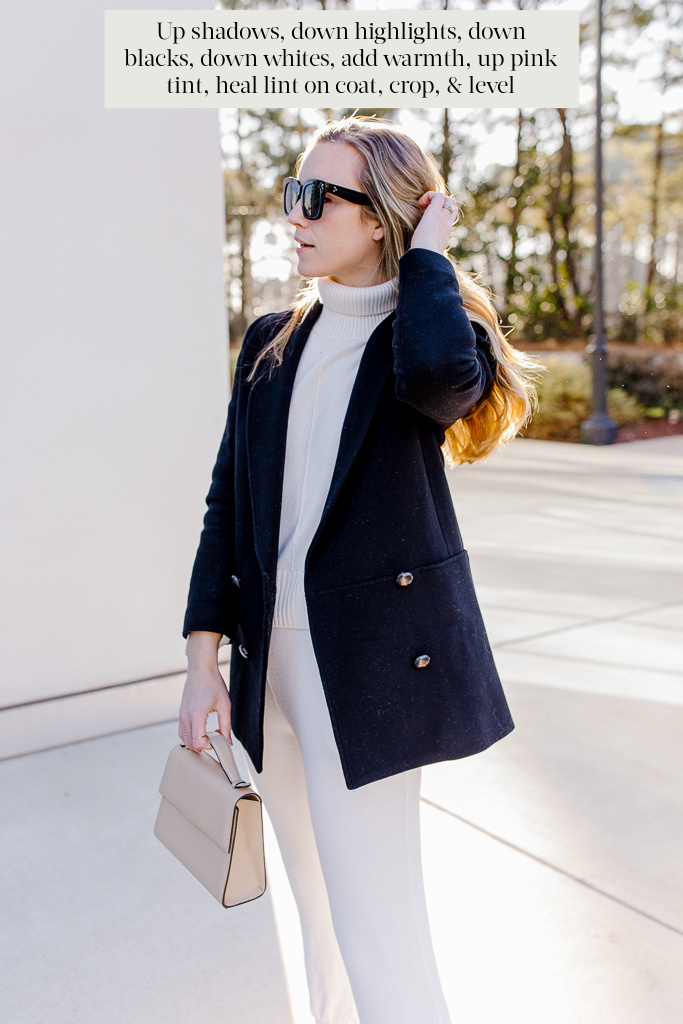
- No two photos are ever the same as far making adjustments, but I typically bring down the highlights and whites, bring up the shadows, and bring down the blacks for a pop.
- Next, I add warmth by turning the temperature up just a hair to the yellow side. I almost always add pink tint to my photos (anywhere from +5 to +30).
- I always enable profile corrections in the Lens Corrections tab to get rid of any vignette around the edges of the photo. And I typically level each photo in the Transform tab to get the lines as straight as possible (this is much more pleasing to the eyes).
- Next, I’ll use the healer brush to take out any distractions on the ground or in the background (sometimes pedestrians, marks, spots on my clothing, etc.).
- Once everything is as close as possible to how I’d like it to look, I’ll take a look at the color panel and adjust colors that look off. For example, sometimes greenery doesn’t look quite right in camera, so I adjust it to be as close as possible to what you’d see in person. Want to take it a step further? Use a video AI generator to enhance your visuals, automatically adjusting colors and lighting to bring your vision to life.
- Finally, I export the photos, making sure to change the file names to optimize for SEO (for example, “best-ski-gear-for-women,”), then I compress the files using JPEG Mini Pro to ensure I don’t compromise load times on my site with huge files.

Editing for Instagram Photos:
If we shot the photos using our DSLR camera, the process is essentially the same. Once I finish editing photos, I export them, compress them, and then I airdrop the photos I plan to share to my cell phone. Sometimes, I’ll upload them to Later.com (my social media planner) instead. Either way, I make sure I have access to them on my cell phone for posting.
If we shot the photos using my iPhone, the process is a little different.
- I’ll upload the photo into my Lightroom Mobile app. I have all of my Lightroom presets synced, so I can still use the Monika Hibbs, VSCO, and Nobile Mobile presets that I mentioned earlier.
- I can make almost all the same edits with the mobile app that I can in Lightroom desktop, but I typically crop the image to a 4×5 ratio (Instagram dimensions).
- After I export the photo, I use the Retouch mobile app to eliminate distractions in the background (as opposed to the healer tool in Lightroom—it’s not as user-friendly in the mobile app, for some reason). Consider hiring mobile apps sydney developers to improve your preferred editing tools and enhance your mobile photo editing experience.
There you have it! My editing techniques are fairly simple, and I like to keep things as uncomplicated as possible by getting a great image in camera.
We’re not professionals, so we’re always trying to hone our skills and learn through YouTube videos, speaking with other photographers, and trial and error. I encourage you to do the same!
Also, I’ve found creating a private Pinterest board and pinning photos that have the editing style that I like to be very helpful. It encourages me to stay on track and gives me a “look” to model my photos after for a cohesive aesthetic. Let me know if you have any questions in the comments or on Instagram!
Shop Our Camera & Editing Gear


)
Its always pleasure to see your photography Juya. Best of luck.
Awh, thank you Yusuf! We really pride ourselves on our photos and are always looking for places to improve!