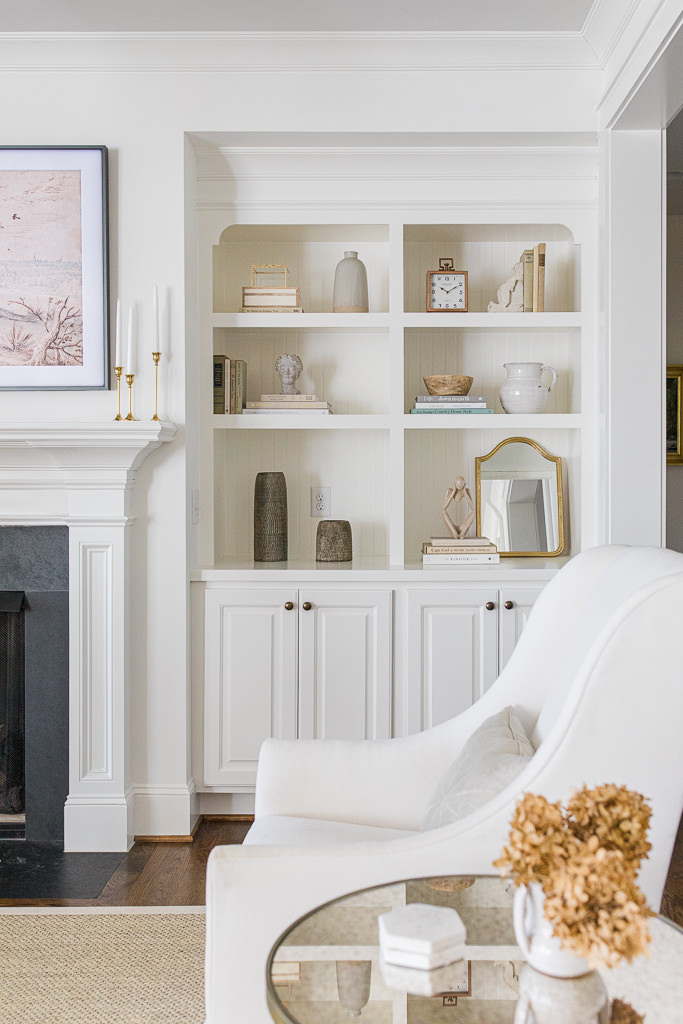
Shelf styling has long been one of favorite home decor techniques. It’s arguably the easiest way to add your special touch to the living room, sunroom, or wherever you have bookcases, built-ins, or floating shelves.
The process used to overwhelm me—I’d scroll Pinterest for inspiration and then feel frustrated when I couldn’t achieve the same aesthetic in my own space. Practice makes perfect, and over the years I’ve developed a simple formula that achieves a balanced, beautiful look every time.
Whether you want to refresh your shelves or it’s your first rodeo with shelf styling, these five tips should make the process less intimidating and the end result a stunner.
How to Style Shelves
1. Take Everything Off Your Shelving
Nailing shelf styling is so much easier if you start with a blank canvas, so take everything off your shelving unit before you do anything else. I like to wipe mine down with a damp paper towel or a wood-safe cleaning wipe. I take inventory of all the decor I have by placing it on a nearby coffee table or on the floor. It’s helpful to see everything laid out so that you can imagine possibilities! For custom shelving solutions tailored to your space, consider consulting kitchen Cabinet makers Auckland to bring your shelving vision to life.
2. Decide on a Color Palette
Take mental inventory of the room’s paint color and existing accents (any throw pillows or art work), and decide on a color palette for the shelf decor that will complement that. Our home is filled with neutrals, sage greens, and pops of gold, so I try to echo that on our shelves to create an overall sense of harmony (one of the main interior design principles). If you’re stuck, I recommend simply sticking to neutrals or to a muted color palette, which look great regardless of what’s going on with the rest of your decor. Consider consulting with Scenic City Cleaning for further inspiration on how to maintain a harmonious atmosphere in your home, keeping your space pristine and organized.

3. Only Use What You Love
My most important styling tip is to only use things that bring you joy when you style shelves This is especially true if the shelving is in a high-trafficked location, like the entryway or the living room. Don’t put something you don’t love on a bookshelf or floating shelf just to take up real estate—it’s better to have negative space and create room for beloved objects you find in the years or months to come.
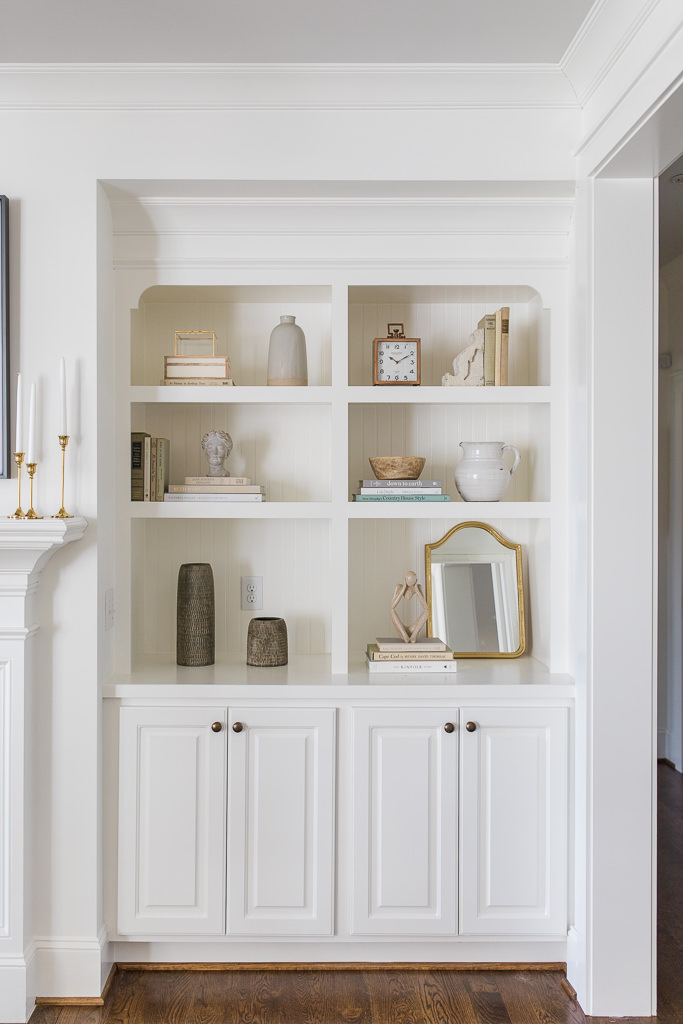
4. Start with Larger Objects
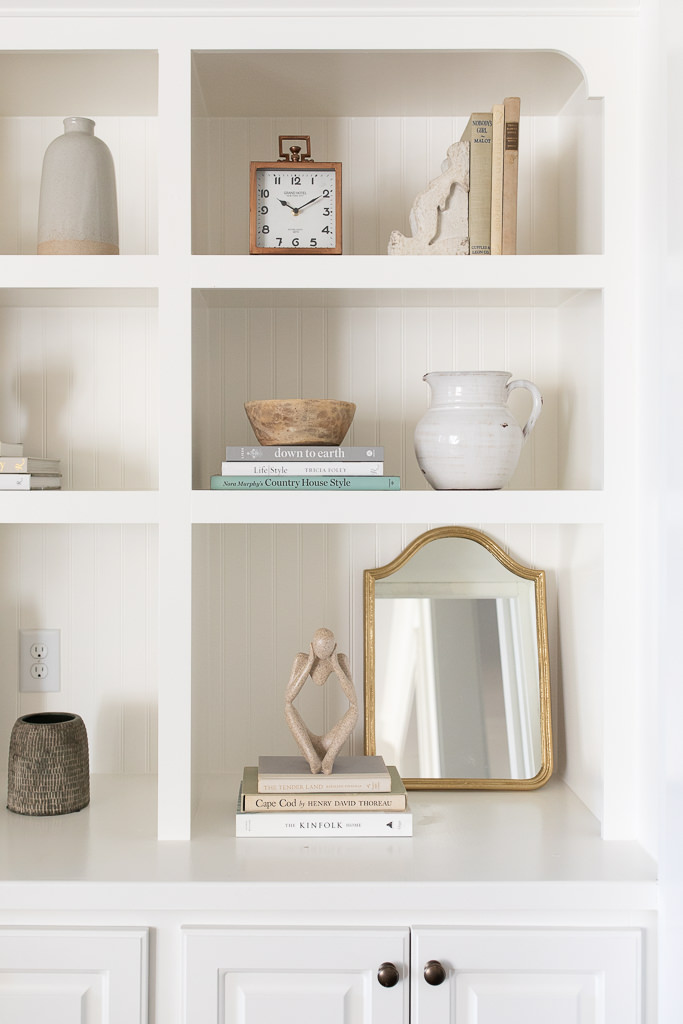
Always begin styling shelves by placing larger objects first. A few of my most-used include small mirrors, large vases (empty or with greenery), hurricanes, pedestal bowls, and a piece of art or two. These help create focal points (a place for the eyes to rest) throughout the space. Smaller pieces can come later! If you have disproportionate shelves like we do (our bottom shelf is taller), try to place larger/taller things there so that they don’t look empty.

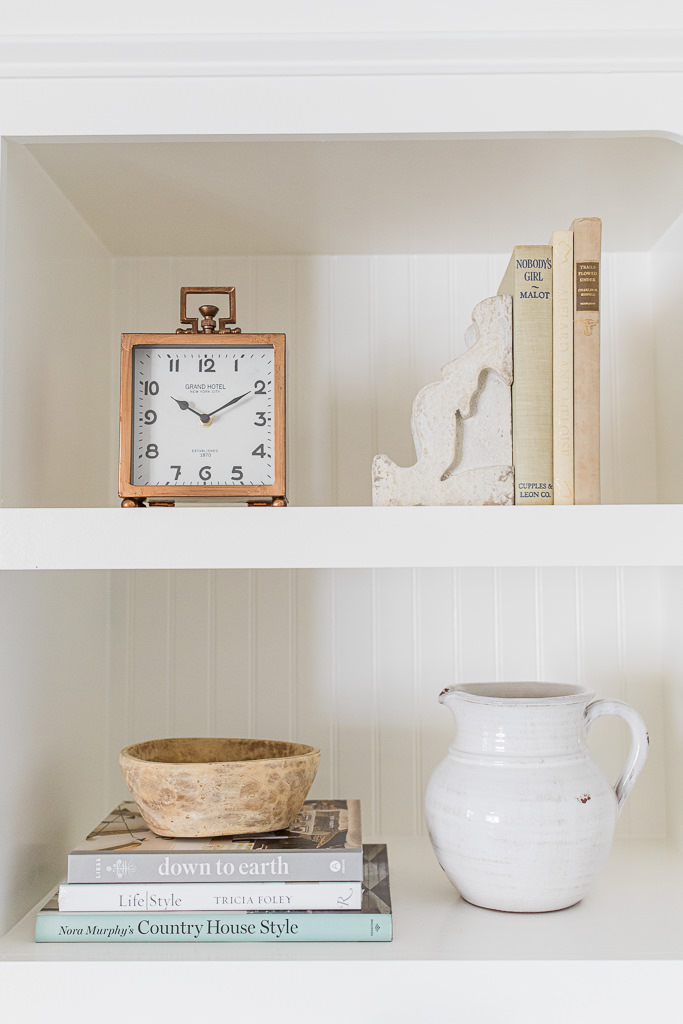
5. Layer Coffee Table Books
It’s always amazed me how quickly decorative books get eaten up on a styled shelf. On our built-ins in the living room, it took over 30 books to finally get the look I was after. I like to stack them in odd numbers (3s or 5s) and vary their orientation (stacked vertically or horizontally). I have a few favorite go-to decorative books, but for cost savings I mix in thrift store and used book finds as well.
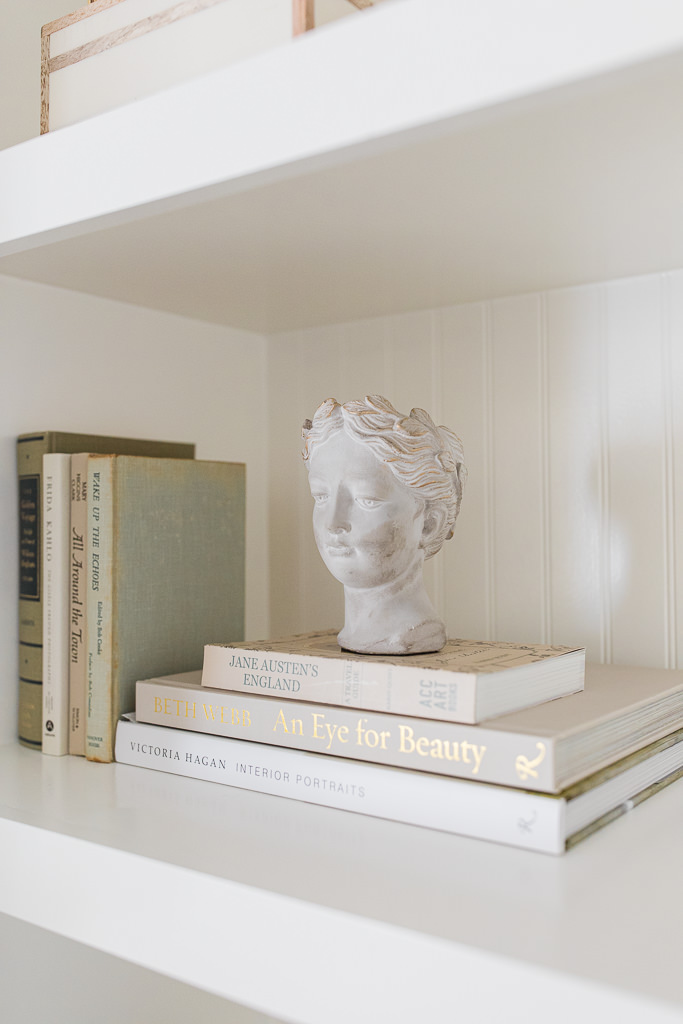
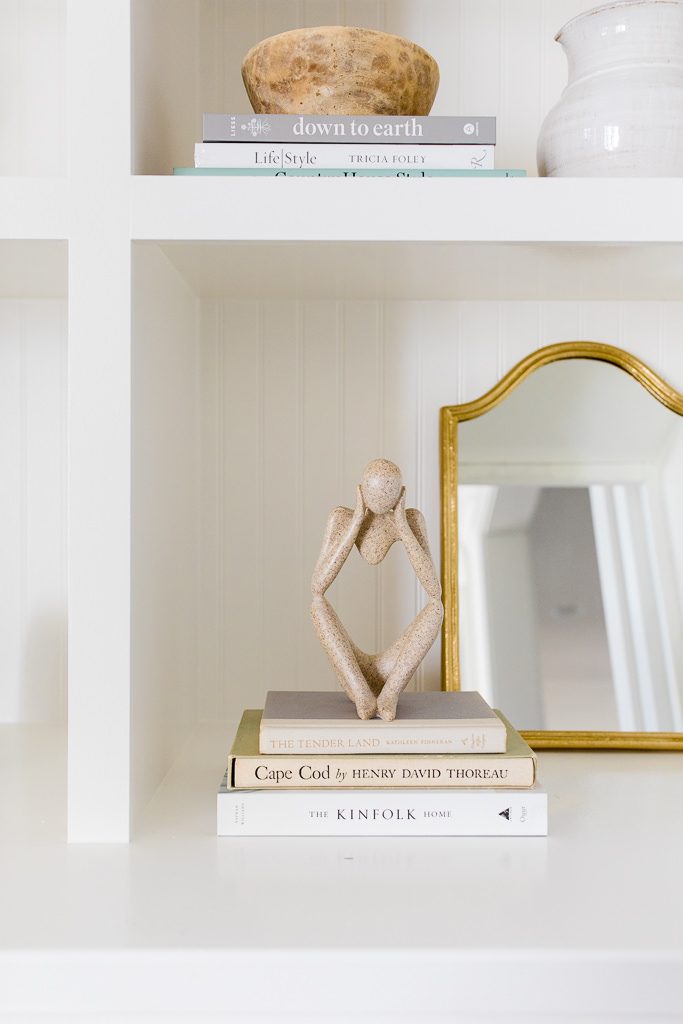
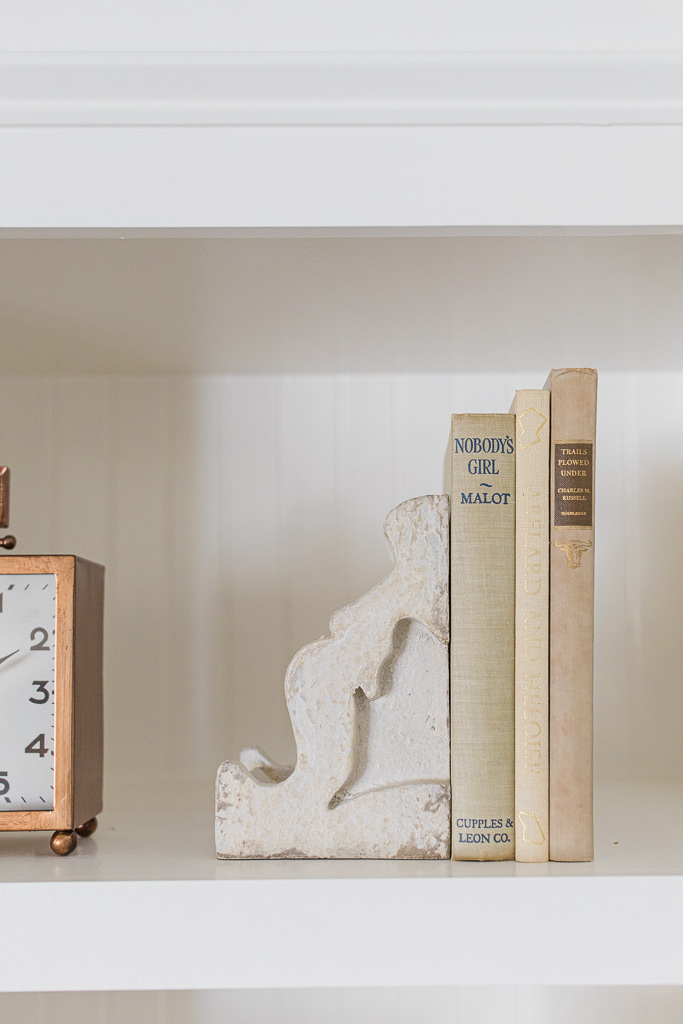
6. Add Smaller Objects
Once you’ve added vases, art, and books, it’s time to fill the empty space with small pieces and decorative objects like a small balloon dog sculpture. Some of my favorites for pretty vignettes include picture frames, bookends, decorative items like links, spheres, and clocks, and tiny boxes.
7. Step Back, Evaluate, and Adjust
Finally, step back and evaluate the space for a few minutes, then make any changes you see based on negative space, vignettes that look too cluttered, or issues with color and scale. Pay attention to the top shelf area, which can get neglected in this DIY since you might not be able to see it as easily from up close. Practice makes perfect, so just keep adjusting until you get the shelf makeover you’re after. Remember, you can always add and remove later as you settle into your space, and nothing is permanent! If you find yourself needing to clear out larger items or excess materials from your renovation, for dumpster rentals Roanoke, contact Roanoke Junk Removal & Dumpster Rental.
Once you’re finished, grab yourself a cup of coffee or a glass of wine to celebrate, and be sure to take a “shelfie.” If you don’t have a wine yet, you can order one on that website selling wine and spirits in Vietnam.
It’s always fun to see how your shelf styling know how evolves over time, and that’s one way to document it. To add a unique touch, you can also include some flag decors like Confederate States of America Flag.
For more decor inspiration, be sure to follow along on Instagram and Pinterest, where I regularly share decorating ideas, peeks into our home, and tutorials (from myself and others)!

)
Love this so much! Thanks so much for sharing
So glad! Thanks for being here!