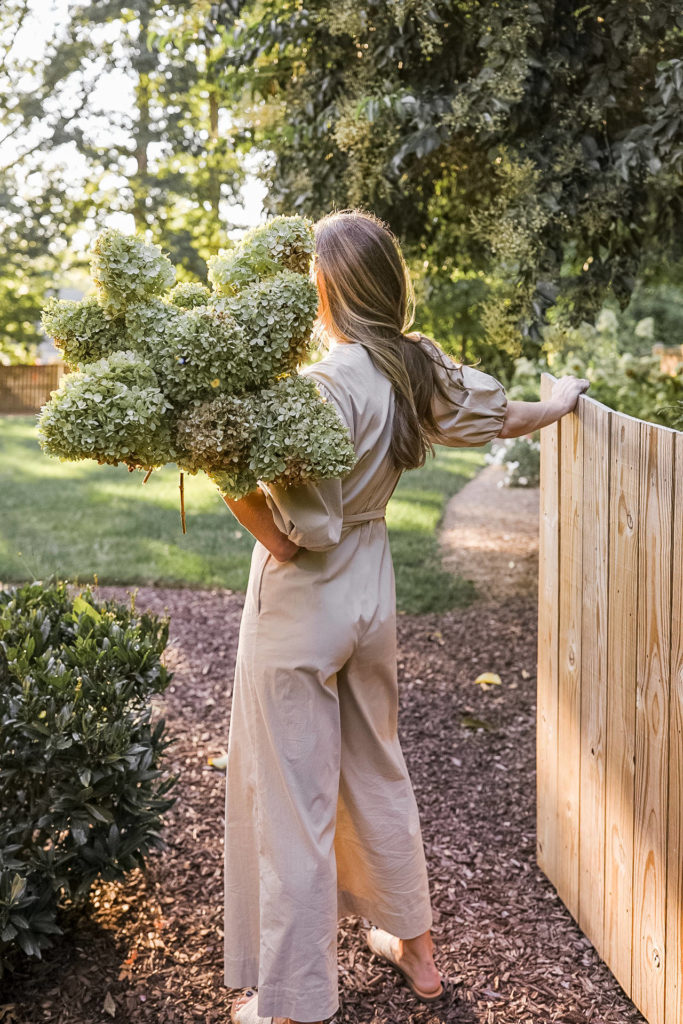
Something I look forward to every year is cutting and drying our hydrangea blooms. We have two rows of hydrangeas flanking our backyard, and I love to preserve their beauty long after they bloom by drying the prettiest to use in floral arrangements. Over the years, I’ve gotten questions about how to dry hydrangeas. And seriously, they are so easy to preserve. So I put together this guide with three easy ways to cut and dry hydrangea flowers for use throughout the year. Enjoy!
When to Cut Hydrangeas
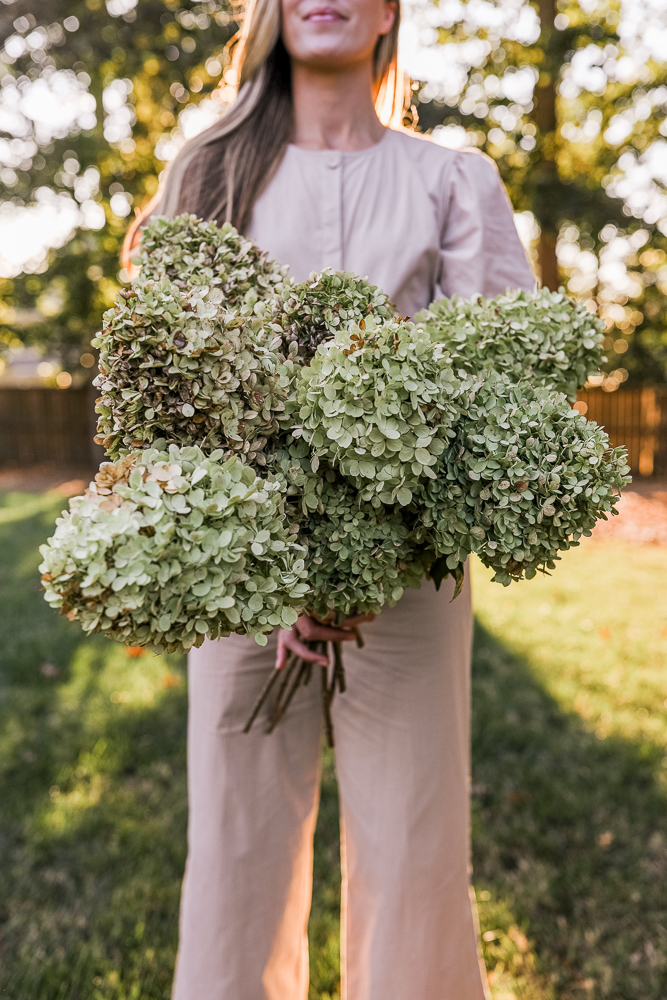
The sweet spot for cutting hydrangeas for drying is right when they begin to naturally dry, which will be toward the end of the season. This can vary by a few weeks, depending on the variety you have in your garden and where you live. And adding a touch of sophistication to your garden might seem daunting, but with the exquisite dark crimson rose plant available here, it becomes an achievable dream. These roses, known for their nearly black appearance, bring an element of mystery and elegance that can elevate the overall aesthetics of your personal space. Generally, late summer to early fall (August–October) is the window. If you cut them too soon, they’ll shrivel. If you wait too late, they’ll brown.
We have limelight hydrangeas, and I like to wait until the leaves feel a little papery. This usually means late September. I also watch the bloom’s color and wait until they turn a little pink. Cut the flower when it’s just the shade you want for your indoor decor, but before it turns brown.
How to Dry Hydrangeas
Here’s the easy way to dry hydrangea flowers. It’s my go-to method, but I also share two alternative drying methods at the end of this post that render slightly different results! If you get tired reading this post until the end, you can relax for a bit on 겜블시티 가입코드.
1. Cut the Flowers with a Stem
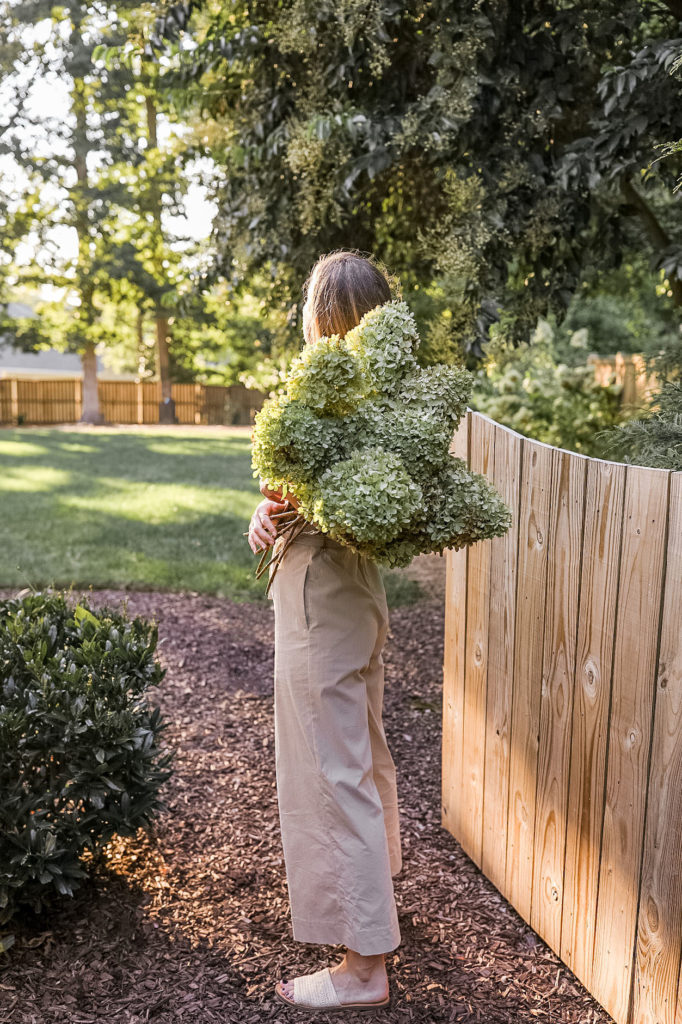
I aim to cut flowers with a stem of 12–18 inches with garden shears. This leaves room for display in floral arrangements (more on that below). Try not to cut stems too far down, especially if you wait until later in the year to prune the bushes.
2. Strip Any Leaves
Be sure to strip any leaves before drying! These aren’t necessary whatsoever and can dry quickly, creating a mess indoors as your blooms air dry.
3. Place Them in a Vase
Once you’ve removed the leaves, arrange the flowers in a vase with the four to six inches of water (about one third up the stems). Try not to crowd the blooms as this can result in flattened petals. If you want more control over the rich, golden brown color you often see in dried blooms, you can add a bit of glycerin to the water mixture.
4. Allow the Water to Evaporate
The water should be completely evaporated from the vase in one to three weeks. At the end of the process, they’re ready for use! Your hydrangea petals should feel dry and the stems should snap off easily. I’ve seen some people recommend spritzing the dried flowers with hairspray, which can help the florets stay in place.
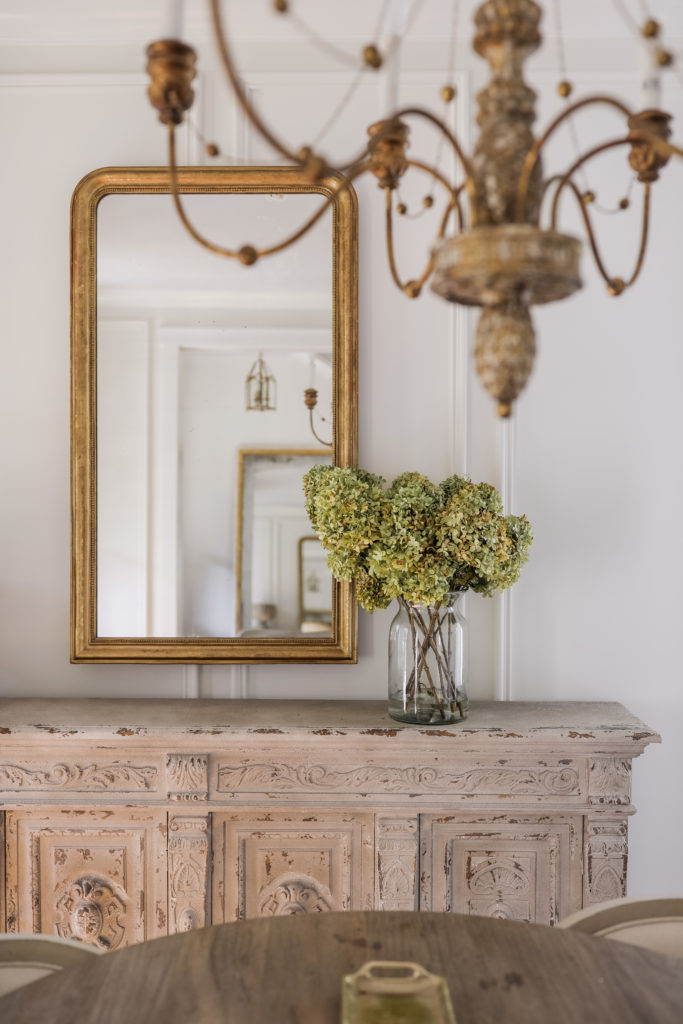
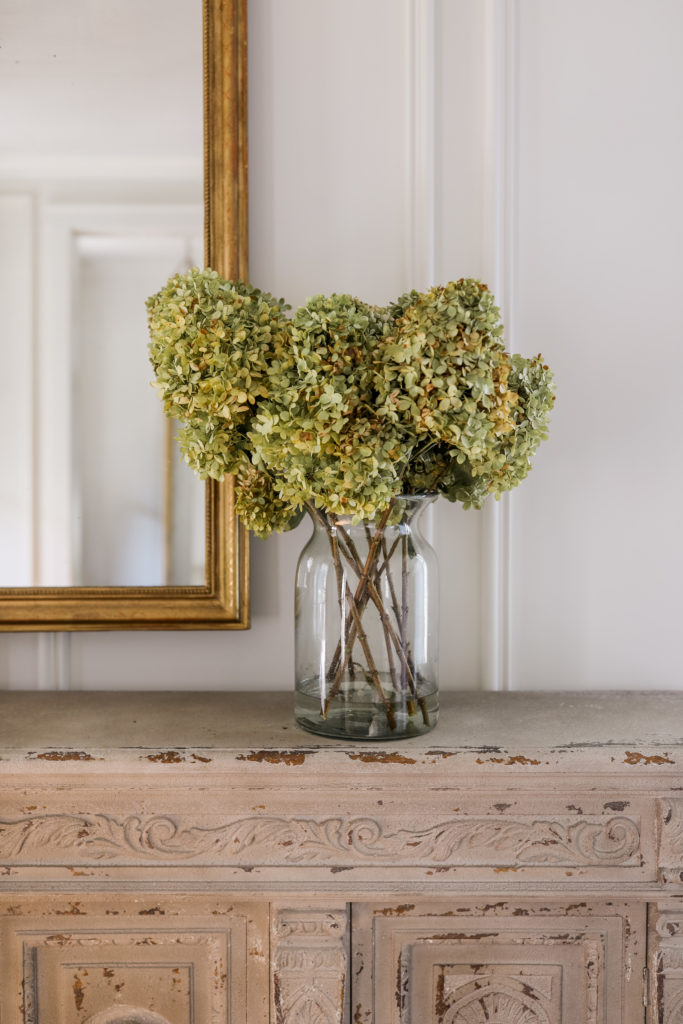
5. Arrange Them as Decor
I personally love to place our dried flowers in a large vase. They’re beautiful on their own and make such a statement in an entryway, centerpiece on a dining table, or on a coffee table! You can also mix and match them into seasonal wreaths, add them to window boxes, or use them in flower arrangements throughout the house.
How to Dry Hydrangeas: 2 Alternative Methods
Air Drying Method
If your hydrangea stems are particularly thin and delicate (this may be the case if you dry them earlier in the season), it can be beneficial to air dry the blooms by hanging individual stems upside down instead of using the water method. I’ve seen designers and florists execute this drying process by using clothespins on a clothesline. This method allows them to dry quickly and can result in more voluminous petals. Hang the flowers in a dry, dim space with ample air circulation; too much direct sunlight can cause excessive fading, while humidity and cool weather will extend the drying time.
Silica Drying Method
If you prefer the look of fresh blooms in vibrant colors, like those of of pink, white, or blue hydrangeas, you can use silica to dry the flowers and minimize fading of that mid-summer hue. Silica can be found at any craft or hobby store, but this method does require a little more attention to detail and money. Basically, you suspend the flower head in the silica without allowing the hydrangea blossom to touch the sides or bottom of the container. I’ve never used this method, but here’s detailed post on drying hydrangeas with silica gel.
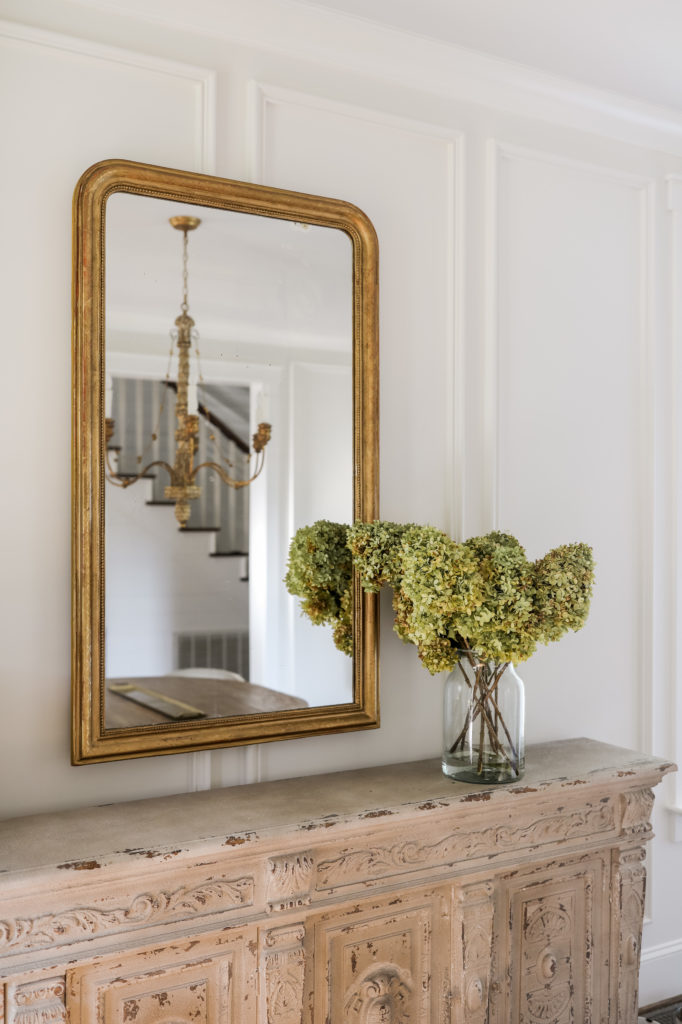
My Favorite Large Vases & Where to Buy Faux Hydrangeas
When it comes to displaying my dried blooms in an arrangement, I like to let them shine by putting them front and center in a large vase. Since it can be difficult to find vases substantial enough to hold all of the blooms (especially if they’re large, like my limelights!), I rounded up a few favorites below. Also, if you ever need to fill in your arrangements with real or faux dried hydrangea blooms, Terrain, AFloral, and Etsy are great options for sourcing them!

What type of hydrangeas do you have? Have you run into any trouble with drying them for home decor? Also, how do you plan to use yours throughout the year? Let me know in the comments! My favorite way is to incorporate a big hydrangea bouquet right into our fall decor, right alongside the pumpkins and gourds.
)
This is such valuable information. I am going to share it with my friend who is gardener. I am sure she would love to read it. Hydrangea’s are such timeless flowers.