Recently I’ve received a few questions about the camera gear we use for the blog. I’m honestly surprised when someone asks because I’m still in the wee infancy stages of learning all there is to know in the big world of photography!
However, I do love taking and editing photos, and it’s the main reason we haven’t outsourced it (yet). When I was getting started, I would have given anything for a list of the best blogging camera gear and a basic pointers to take my photos to the next level.
So, I thought I’d share my own for anyone in a similar spot to where I was 3-5 years ago.
I’m no expert, but this is the best blogging camera gear I’ve found and the most helpful things we’ve learned for taking better blog photos!
Blogger Camera Gear
Cameras and Lenses
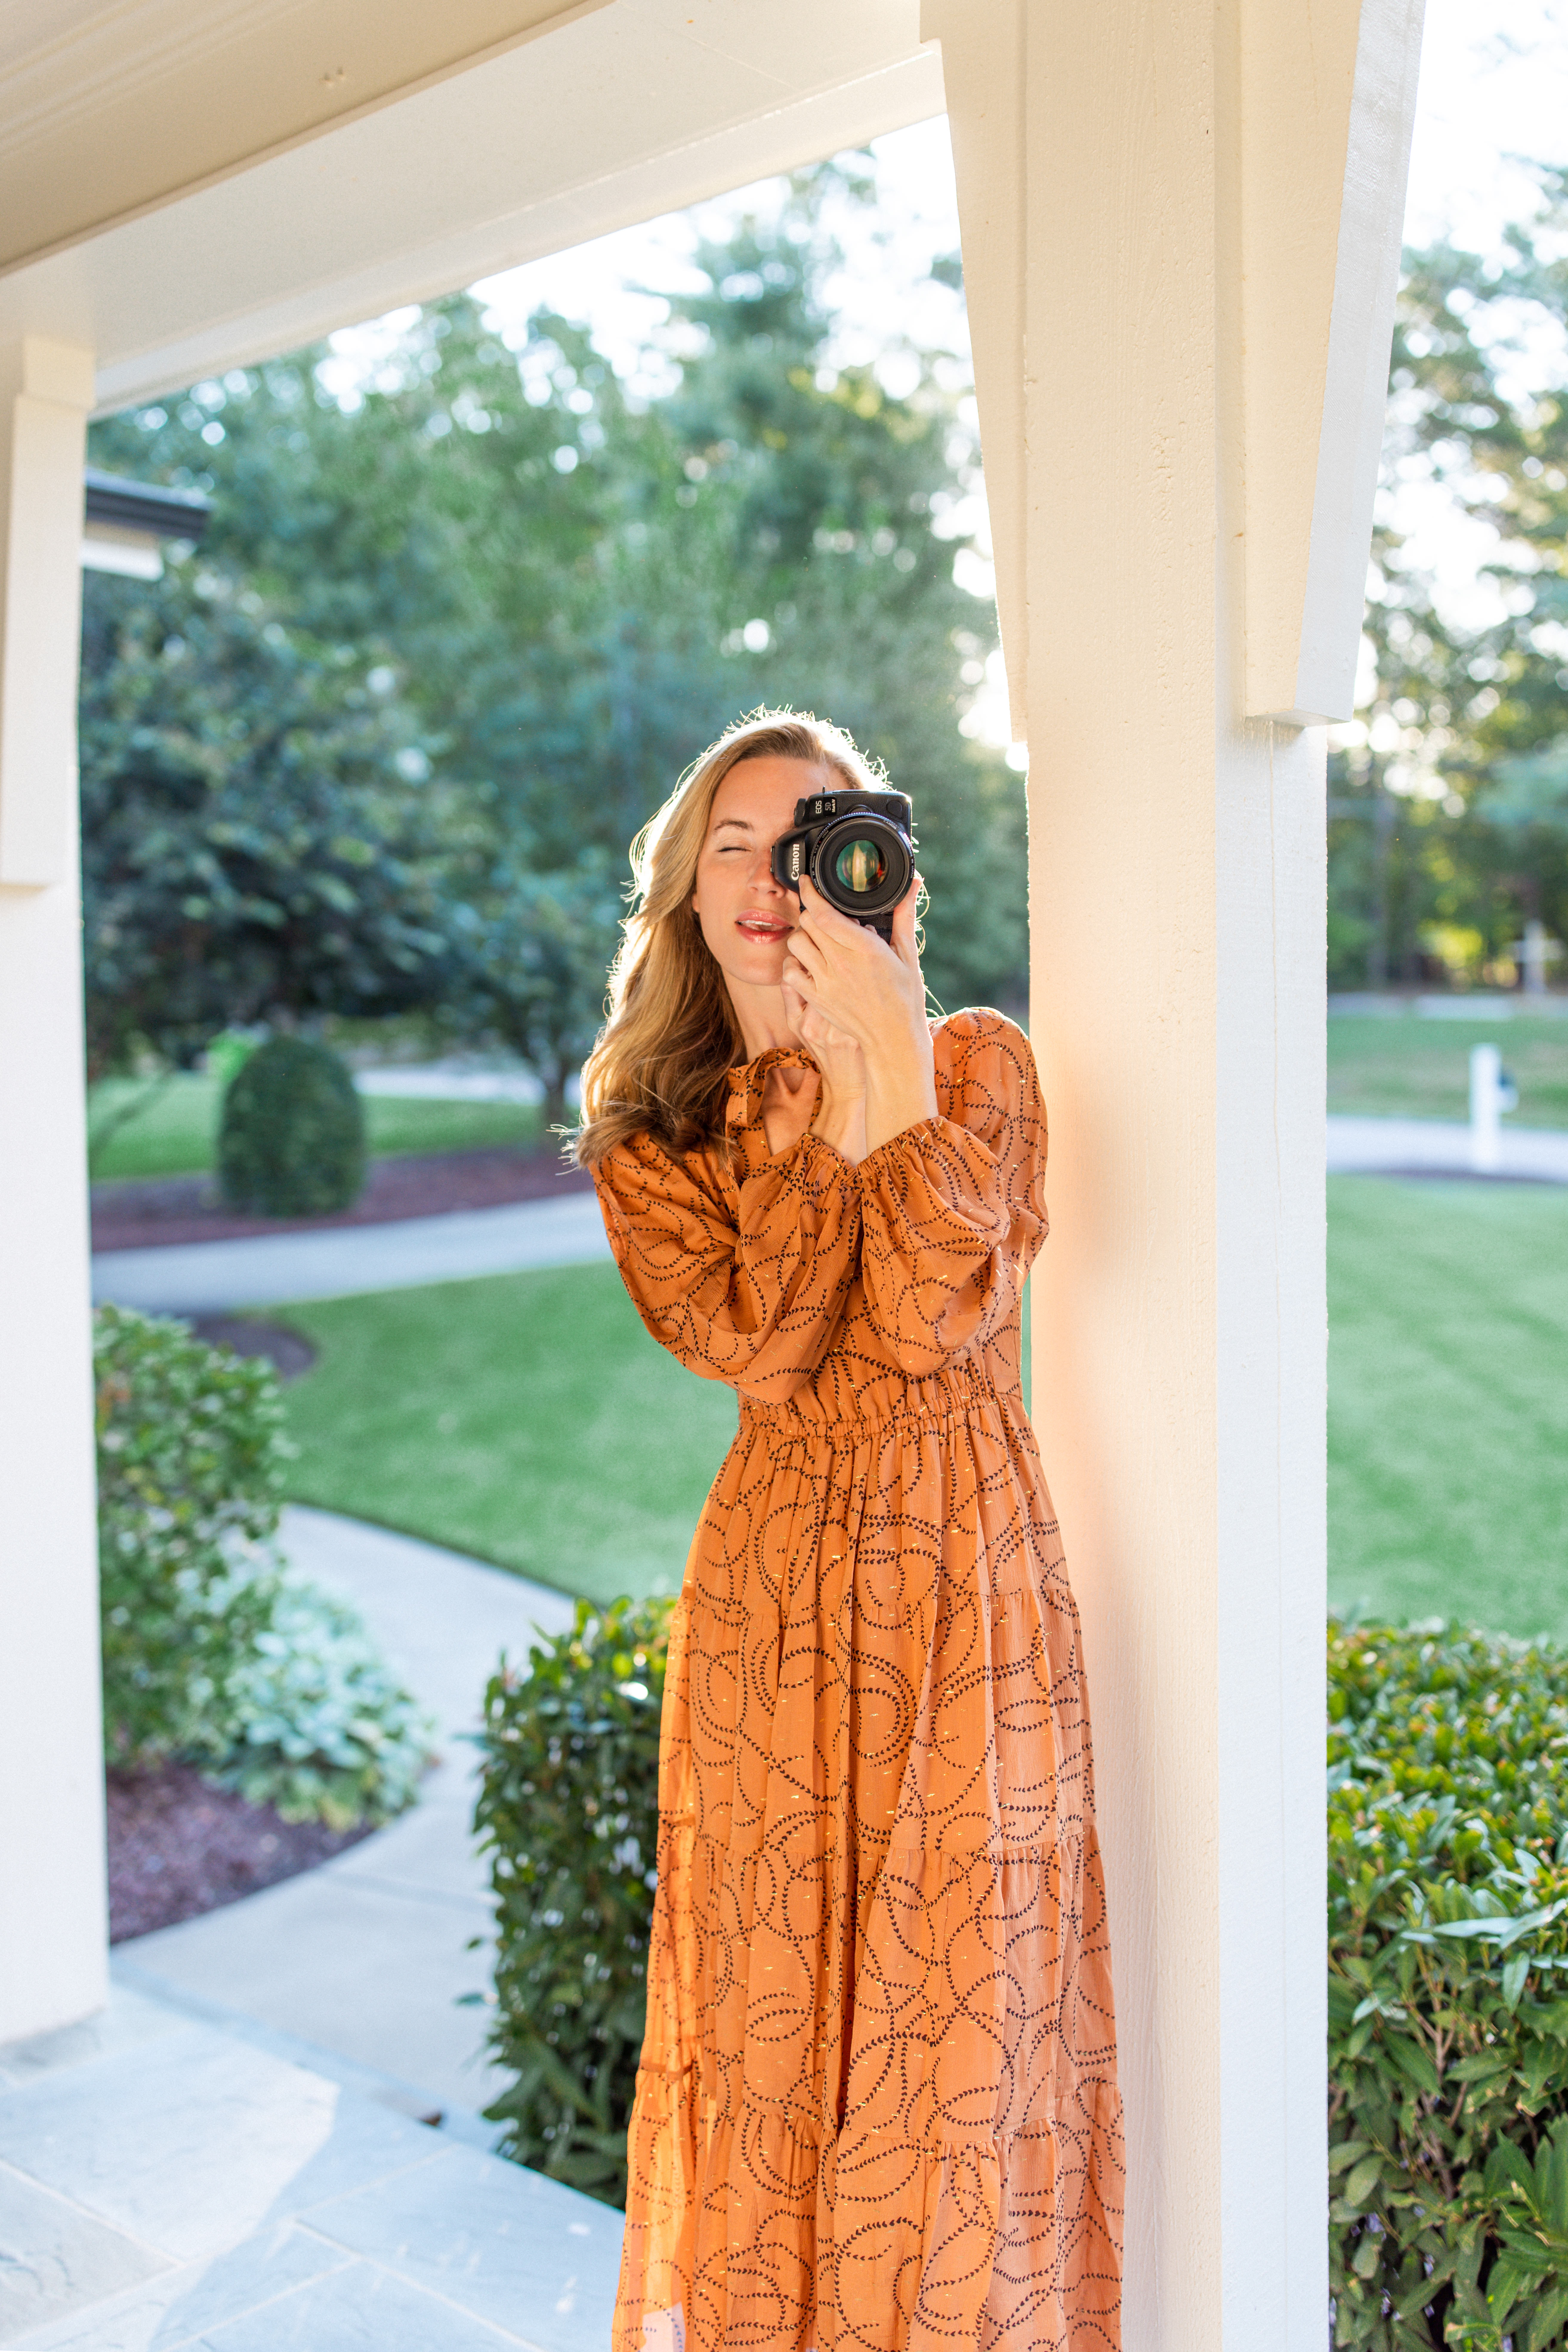
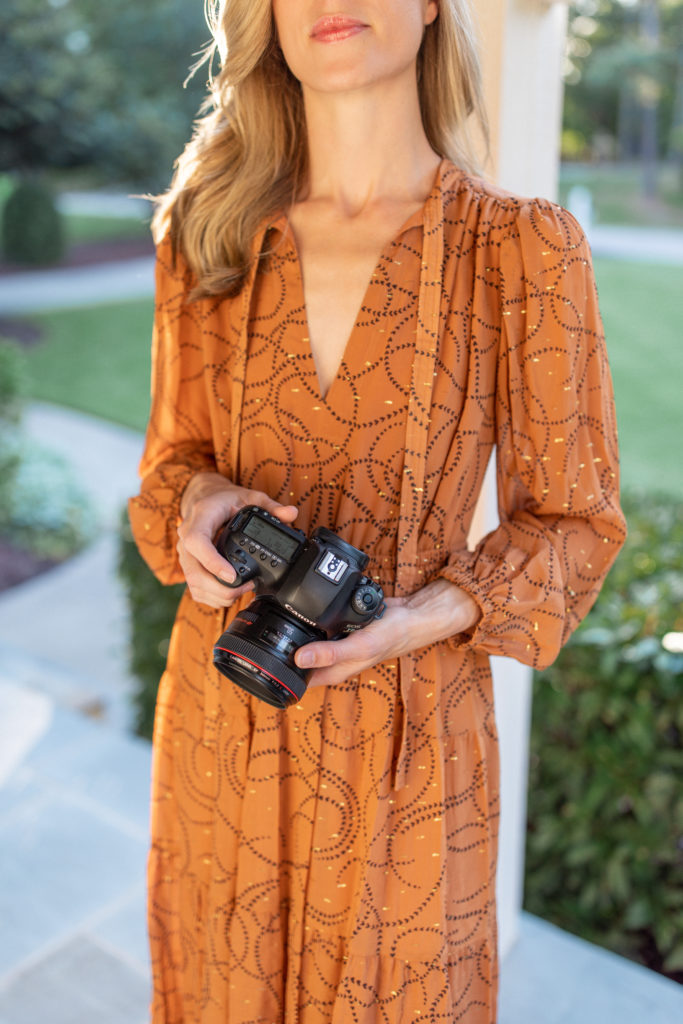
Canon Mark IV—The camera we’ve used for almost all photos up to this point. It’s been good to us overall, and I love the ability to send files to my smartphone for editing. However, it’s very heavy and the autofocus system has given us trouble, which led us to explore other options.
Canon R5—I’ve been wanting to a switch to a mirrorless camera for awhile, so we rented a few this spring. We tried the Sony A7R, but I wasn’t a fan of the skin tones, so that led us to the Canon R5. The R5 has incredible auto-focus eye tracking that makes David’s job infinitely easier. It’s almost like cheating. We love the R5. It’s our new everyday camera at home and on the road.
Lenses—We have the 50mm 1.2 and 35mm 1.4 Canon lenses and love both. We shoot on the 35mm most often. I have an EF to RF lens converter to use them on the R5, but we’ll likely sell them later this year and switch to RF lenses.
Other Equipment
Pop Up Changing Tent—When we’re shooting in public, I use this to change (otherwise, I change in the car).
Manfrotto Tripod—I plan to use the R5 for self portraits when David isn’t available. Manfrottos are pricey, but they’re so well made and can be adjusted endless ways to get the shot. Manfrotto has a great guide on which tripod is right for you if you’re considering!
Manfrotto Mini Tripod—This is a nice little tripod for taking iPhone videos/vlogs or recording portrait-style videos for reels, etc.
Mini Lighting Fixture—This tiny light source is perfect for flat lays and product photos, but I haven’t used it as much as I thought.
iPhone Tripod Stand—This is the best and most stable iPhone tripod stand I’ve found! It’s light and can take portrait, landscape, and downward facing. Comes with a bluetooth remote.
Shop My Camera Gear
Editing Apps and Systems
Lightroom (Desktop and Mobile)—Almost all my RAW files are edited on Lightroom Desktop, but occasionally I’ll send a file from the camera to my iPhone for Lightroom Mobile. I edit all my iPhone photos in Lightroom Mobile. For a unique touch, I sometimes use photo to sketch to turn select images into artistic sketches.
Photoshop—Photoshop is awesome for removing junk on the ground (Raleigh has so much construction right now) and any other distractions to make photos more crisp. When we shoot in backlight, I also remove some flyaway hairs and any hair on my clothing that I missed with our lint roller (because #goldenretrieverlife).
Editing Apps—For iPhone photos, I edit in Lightroom Mobile then use third party apps for tweaks. I love Retouch for removing marks on the ground (it’s better than the healing tool in Lightroom Mobile). I occasionally use Snapseed for expanding a photo if I need more space for the 4:5 Instagram ratio.
Want to make your own editing app? You can find a flutter developer at Rocket Lab that has the necessary technical skills and knowledge to create high-quality mobile applications.
Presets—The two preset packs I’ve used most consistently are Monika Hibbs and Nobile, but no preset is ever one and done. I like bright photos, so I tend to take the exposure up a notch, contrast up a hair, highlights down, shadows up, whites down, and bring the blacks down for a pop. I also add grain and vibrance, depending on the setting.
JPEGMini Pro—I use JPEGMini to compress all blog photos to ensure large files aren’t slowing website load time (important for SEO).
5 Blogging Photography Tips
These are the things I wish someone had told me when I first started. Here are five ways to improve your blog photography:
1. Find the Good Light
David and I did a mentorship session with Arielle Levy in San Diego a couple years ago, and the most game changing thing she taught us was how to find good light. When I’m looking for good light, I do one of two things.
1) Have David stand in the area and evaluate the shadows on his face.
2) If he isn’t with me, I’ll stick out my hand in the area I plan to shoot and notice how the light is hitting my hand.
If your hand or test subject looks glowy and evenly exposed (no mix of shadows and highlights), you’re in for a beautiful shot.
2. Shoot Dark
Since I love backlit photos, I underexpose my image just a hair. This way, when I bring the exposure up in Lightroom, I still get that glowy halo around my face/body/the subject without blowing out the highlights or whites. I find I get more saturated colors (especially skin tones) when I shoot a little darker, too.
3. Clear the Area
Whether you are shooting at home, at a location, or outdoors, clear the area! Pick up anything distracting and remove it from the photo in order to save yourself time editing that away in Lightroom afterward.
Like I mentioned above, Raleigh has so much construction these days, so we are often maneuvering my positioning within the photo frame to cover up a cone, stop sign, neon graphic spray paint. Try to do whatever it takes to minimize the post-processing in Photoshop/Lightroom by getting a clean photo in camera.
4. Practice Composition
“Good” composition is a little bit subjective, but there are a few principles that will make your photos look better, like the rule of thirds. Composition is often what makes the difference between your photos looking professional and not. Notice how shots from people whose photos you love are set up.
Where is the subject in the frame, how much “free space” is there, what’s in focus, etc. Try new angles and focal lengths until it feels right! For videography, the same goes—this is a great video with tips.
5. Have a Shot List
Whether you’re working with a professional photographer, your spouse/partner, a friend, or a tripod to shoot your photos, having a shot list will help keep you focused and eliminate frustration in the middle of the session.
When I’m shooting a blog post, I typically have 8-12 shots in mind, including a mix of scenic shots, full body shots, details shots, portraits, and more creative photos that showcase the product/look.
Sometimes, I use Milanote to create a moodboard. It’s a great organization tool for creatives because you can create mood boards, checklists, and more.
Let me know if you have any questions about our fashion blogging gear or the tips above in the comments! I love chatting all things blogging and photos, and I’m an open book.

)